Home improvements: Asphalt patch work
Updated Mon, Jul 6, 2026 - 6 min read
Top blog articles
Potholes can wreak havoc with your asphalt pavement or driveway. And the problem is, they tend to suddenly show up and start spreading during the winter months, especially just after a period of rain and snow.
The obvious way to deal with these potholes in your asphalt is by patching them up. But the good news is, you may not really need to call on professional pavers to do that for you. If the damage is not major, here are some DIY asphalt patch tips to help you save some money on labor charges.
The ideal material
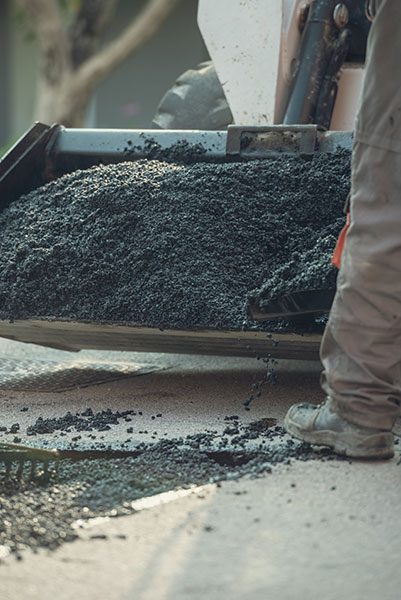
The key to being able to handle quick repair work is having the right materials handy. Now, professional pavers use a technique called hot patching, and that is not something for homeowners to attempt. Instead, what we need is what is called cold patching.
Cold mix asphalt is a product that has a polymer adhesive in it, allowing for permanent repairs. This material dries up almost immediately after being applied once it comes into contact with the air, and this makes it the ideal material for quick asphalt patch work under any weather conditions.
Of course, keep in mind that a cold asphalt or blacktop patch is ideal only for domestic purposes with minor potholes, cracks, and joints.
The advantages of cold patching
Using a cold asphalt patch has several advantages over the age-old method of hot patching, even though you may be told that hot patching lasts longer. Cold patching has come a long way, and done right, should last you more than a couple of seasons. Let’s take a look at some of those advantages.
Temperature
Handling a hot asphalt filler is not a layman’s job. It needs professional training in road work to be able to handle the hot asphalt, which is heated to very high temperatures before being applied.
On the other hand, cold patching can be done by practically anybody with the right instructions.
Equipment
Hot patching uses specific equipment to melt the filler and apply an even coat on asphalt surfaces. Not only do you need specific training to handle the equipment in question, but the cost of purchasing it also makes it better suited for commercial utility.
Cold patching does not need any expensive equipment, making it ideal for small residential parking lots to smoothen rough spots and fill minor depressions.
Quick asphalt repair
Hot asphalt patches need to be rested for at least 24 hours before you can drive on them. Cold asphalt patches, on the other hand, have quick dry technology, which means the patched surface is traffic ready almost immediately.
Saves you money
Hiring a paving contractor is almost always going to cost you a lot of money. So unless the damage involves completely removing and replacing your home’s driveway or covers a large area with very wide cracks in asphalt, you are better off choosing the DIY approach.
Not only will using this asphalt crack filler save you money, you will also have the freedom of dealing with the damage taking your time and parking needs into consideration.
That being said, it is always best to address driveway cracks and potholes as soon as possible. Not only will driving over them every day ruin your car’s suspension, the longer you leave them untreated, the more the damage becomes. Left for too long, you may have no choice but to spend on hiring professional contractors.
Read more: What adds value to a home improvements
Not weather dependant
The new formulas used in cold adhesive patch asphalt make them usable in any weather, even during the peak of winter. This means you do not need to wait until spring to address those potholes.
Easily available
Cold patch asphalt is a long-lasting, durable and affordable repair product that you can purchase easily from local stores.
The process
As with everything DIY, there is a certain amount of prep work needed before we even start the process. It is also important to know what tools you will need to cold patch your damaged asphalt pavement.
Tools needed
- Coarse gravel and sand mix to top up potholes. Never use round or pea gravel since it constantly shifts.
- A concrete or asphalt saw to cut and remove damaged pavement before you begin the patchwork. Alternatively, you could use a hammer and chisel as well.
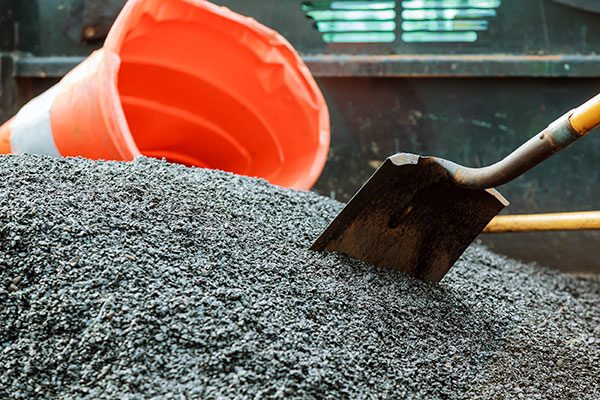
- Cold asphalt patch bags, depending on the scope of work. A fifty-pound bag could cost between $8 and $20. One bag will cover a pothole around an inch deep and five to seven square feet wide.
- A shovel.
- A lawn roller, vibrating plate, or plywood for tamping.
- Asphalt seal-coat along with a paintbrush or roller.
Read more: Concrete-vs-asphalt. Which is better?
Prep work
- The first thing you need to do is assess the foundation, or in other words, the coarse gravel and sand mix underneath the blacktop surface. Check and determine how much foundation you will need to support the cold asphalt patch.
- Next, measure the damage that needs to be filled. Considering you’re not going to be dealing with definite shapes, it’s better to square off the holes to make measuring easier. This should help you arrive at how many bags of cold asphalt patch you will need.
Read more: How to budget home improvement easily?
The grunt work
- The existing asphalt surrounding a pothole is always cracked and damaged as well. So mark a square or rectangle area around the pothole that includes these damaged bits and cut it out using your asphalt saw or hammer and chisel.
- Clean the area thoroughly, removing chunks of asphalt you just cut and all plant life, roots included. Make sure you have a solid base when you are done.
- Top the hole up with the sand and gravel mix, leaving only about an inch on top. Compact and tamp the surface flat.
- Fill the hole with the cold asphalt patch and tamp it down to remove any air pockets. Then, add another layer if needed and repeat the process.
- In case you’re patching your driveway up during the winter, you will need to wait until the warmth of spring until you can apply the seal coat. Of course, you can still use your driveway in the meantime.
Read more: Cheap patio paver ideas
Written by Narayan Shrouthy. October 3, 2022
Narayan is a content writer for Kukun. With experience in both content writing and editing, Narayan mixes his writing and love for reading with his passion for music. As an active musician, He aims to be a key player in Kukun's content experience.
Top blog posts


See more >
Recommended
Join our newsletter
Get helpful renovation tips, insightful home maintenance articles, real estate market trends, and more.
Please enter a name
Please enter a valid e-mail