Top blog articles
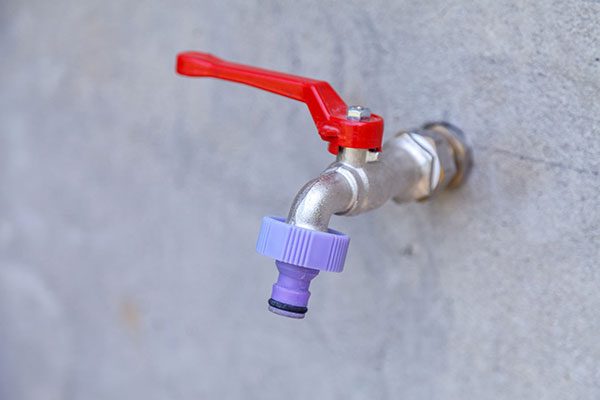
Any pipe that leaks, no matter how small, should be replaced. In addition to lowering your water bill, it helps you save a lot of water. Exterior spigot replacements are just as delicate and wear and tear more than indoor faucets. If this exterior spigot is leaking you should replace it. A dripping faucet can waste up to 3500 gallons of water a year.
Most sanitary fixtures are made of stainless steel or brass to withstand water pressure. When there is a drip the first option to check is the rubber grommets, these are placed on all water inlet and outlet connections, making a tight seal that prevents the faucet from dripping when the valve is closed.
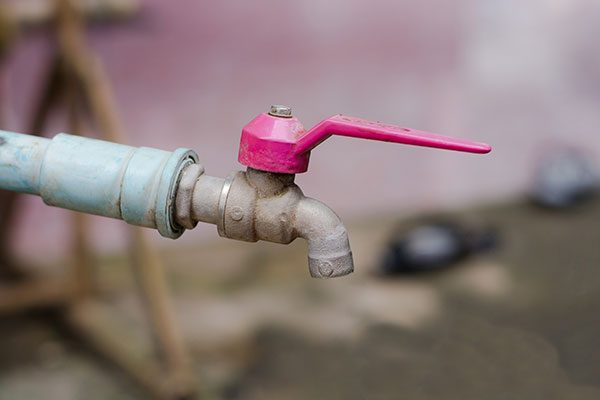
If the spigot has been outdoors for a long time, it is best to replace it with a new one.
How to replace an exterior water spigot
This type of change does not need previous knowledge or experience; it is something that can be done in a day with the right tools following a step-by-step process. You can do an exterior spigot replacement as a garden spigot replacement has 10 steps:
Step 1: look at the pipe and the material
Before you start, determine what type of plumbing you have in your home, just look at where the water supply is located, usually in the basement, and see if the plumbing is copper, galvanized iron, or PVC. This will allow you to purchase the appropriate materials to make the connections.
Step 2: Shut off the outside or house water supply
Turn off the shut-off valve, either to that specific faucet or to the entire house. These valves are located in the basement of the house, at the front of the house, at ground level, or if it is an apartment in a drawer in the hallway common with the other apartments. Once the valves are closed, open the faucet to drain the water remaining in the pipe.
Step 3: Inside the house, locate the water pipe leading to the outside faucet and cut it off a few inches from the wall.
Make sure you have a bucket or container where you can empty the water left in the pipe. You will need a pipe cutter to cut the pipe. This is a special tool for pipe cutting. This tool makes precise cuts, unlike a hand saw which can damage the pipe.
Step 4: Go outside the house, remove the old spigot and test fit the new one
Uninstall the old faucet, which is probably bolted in place, and then slide it out of the hole. Install the new faucet and check the fit. There should be a gap, which is what you cut into the house for the new faucet.
There are adapters for different materials, but the best choice will always be the same material. One end of the tube fits the pipe while the other end fits the faucet. Remember that each joint has a few inches of Teflon tape to apply pressure so that the joints seal hermetically.
Step 5: Install the outdoor water spigot, adding a generous amount of caulk between the faucet and the exterior of the house
First, you must attach the faucet, this is done by marking the faucet holes in the concrete with a guide. The guide is a nail placed in each hole, with a hammer you will hit them until they are driven into the concrete or leave a mark. Then you can do it with a drill. Apply caulk around the pipe and the wall, this will seal any gaps.
Step 6: Remove the faucet stem before soldering the new faucet to the existing water pipe
The stem is the internal structure of a faucet or tap. Since this type of faucet replacement fixes in place, it must be removed to prevent damage to the rubber bands and to allow for easy soldering of the parts. Remove the stem from the faucet and solder the tubing to the faucet. Once soldered, the stem can reinsert.
Step 7: Measure and cut a new piece of pipe to connect the flapper tap and coupling to the water pipe
The inside job is to connect the faucet piping to the house piping. Use a tape measure to measure the distance between the cut end on the outside and the adapter and make a cut with the pipe cutter.
Step 8: Clean and add flux to the pipe and fittings, then weld everything together
Use sandpaper to clean up the soldered joints, this will grind them down and even them out, ensuring a tight connection when soldering the pieces together.
Next, use flux on the pipes, fittings, and adapters to clean and prevent oxidation of the copper and ensure a solid solder joint. Make the connections carefully and with the appropriate precautions, remember that this can reach temperatures over 1000 degrees.
Step 9: Install the stem and make sure it’s tight
Re-insert the stem and screw it back in until it is thread-tight, but do not over-tighten as this may damage the gasket and rubber seals.
Step 10: Turn on the water and test the new outdoor faucet
Open the faucets, wait a few minutes while the water fills the pipe, and open the faucet to make sure that the water passes through, close it and observe if there is a permanent drip, spaced, or if there is no drip.
This method to replace your old faucet with a frost-proof model will eliminate that costly leak and protect your outdoor spigot from damaging freezing temperatures.
How to shut off and drain all exterior spigots
As an extra tip, to drain your spigots you must locate the stopcock where all the plumbing connections are in your house, usually located in the basement.
- Close the faucet (perpendicular to the pipe or spigot counterclockwise).
- Go to the outside connection, where the faucet is and turn it on, let all the water flow out, and then stop altogether.
- Do not connect the hose during the winter or leave it connected. Leave the faucet running during the winter.
- Indoors, find the stopcock and open it to drain the water remaining in the pipe.
- This will relieve the pipe and move the water away from the house.
With these ten steps, you can make an excellent exterior spigot replacement and save both money and water.
Read more: Plumbing on an exterior wall
Written by Vanessa Gallanti. December 10, 2022
Enthusiast about planning, project management, construction materials and technology, and construction. A civil engineer from Los Andes University and a content writer for Kukun.
Top blog posts


See more >
Recommended
Join our newsletter
Get helpful renovation tips, insightful home maintenance articles, real estate market trends, and more.
Please enter a name
Please enter a valid e-mail