Top blog articles
There is nothing more relaxing than taking a hot shower or turning your bathroom into a sauna. The problem is when the putty around the shower screen cracks and starts to crumble. A little nightmare that can stress you out during your bath. If you want to continue using the shower as a sauna you will have to fix it and replace the caulk.
Of course, when you do this repair you should also take the opportunity to repair the shower doors, the joints around the tub, the tiles, and the drain. This may take a day, but you will be able to enjoy a hot bath afterward. And here’s how to caulk a shower stall.
How to caulk a shower

Step 1: Select the caulk that works best
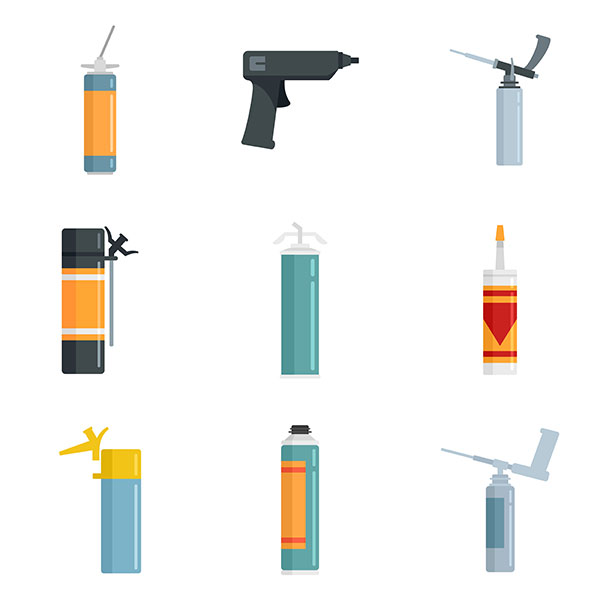
The choice of a quality product is the first step in a professional caulking job. Latex and silicone caulk are the two primary varieties of shower caulk.
Even though silicone creates a stronger seal, working with latex is simpler, especially if you’re a newbie. Many do-it-yourselfers pick a sealer like DAP Kwik Seal Plus because it combines silicone and latex for the best of both worlds.
Step 2: Clean the work area and remove any old caulk
Before you begin applying the sealant of your choice, be sure to remove any old caulk, as any remaining traces will prevent the new caulk from adhering and overworking.
This can be done using a razor knife or a sharp tool that you can scrape away. Apply a special remover to difficult or hard-to-remove areas. This cleaning can be beneficial because if you find mildew in the path you can clean it with a 1:2 bleach solution, one part bleach to two parts water, and continue cleaning.
Step 3: Cut the end of the tube and begin caulking
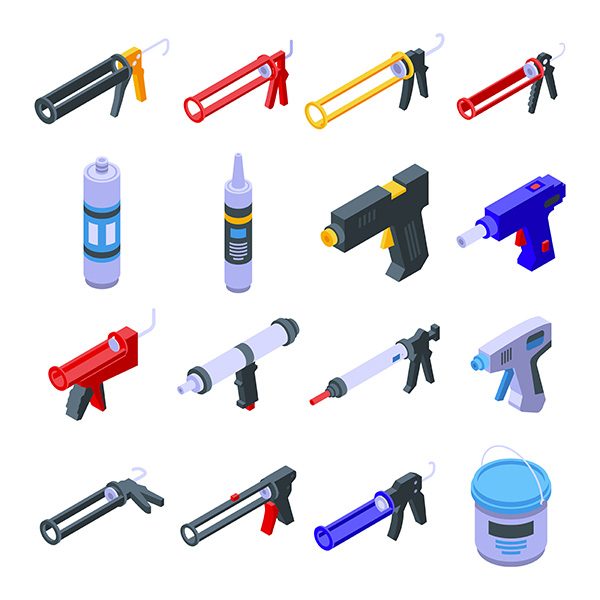
The best option to apply it is to invest in a caulking gun, so you don’t stain your hands, it is uniform and neat. These are simple tools that will not cost you much, if anything, 20 or 30 dollars.
What this gun does is generate a homogeneous bead and a precise distribution. Do not cut the tip of the tube too deep because the bead will be too thick, giving ordinary and messy results. These tubes usually have a cut mark, locate it and use it.
Step 4: Place guides and caulk the hole. Immediately begin caulking
Use masking tape or painter’s tape guides at the joints between the wall and the shower or door, so the joint will be neat, straight, and free of any burrs on the sides. Start with the gun to apply the caulk, depending on the grip of the gun will be easier or more uncomfortable in the process. There is no specific technique here, just rest and start again, you may exercise your arms with this.
Step 5: Work the caulk joint and remove the tape
Use your fingers wet with cold water to mold the excess, reshape it or flatten it a little, this process is known as tooling. Remove the guide tape and continue puttying until all the voids are filled.
Step 6: Allow the caulk to dry and cure
Allow the caulk to dry for at least 24 hours; do not shower during this time. Then you can enjoy your personal sauna.
What to use for caulking?
During the process, it is recommended to use nitrile gloves to avoid getting your hands full of glue and to be able to easily clean the material once the job is done.
- If you can have a ruler to visually determine the amount of material to use to seal the holes, it is approximately a quarter inch to a half inch, no more than this.
- Caulk tubes and caulk gun.
- Cleaning towels to clean the surface.
- Pulse. To get a perfect bead and avoid common caulking mistakes, apply steady pressure at a steady pace, without shaking!
How to caulk the toilet also?
As easy as marking the outline of the toilet on the floor with painter’s or masking tape, and applying the caulk inside the outline leaving a quarter or half an inch of the shape facing inward. This will ensure that the caulk sticks well between the toilet and the floor. This prevents the natural movement of the toilet to the sides, and prevents splashing or overflows from puddling on the floor and rotting the toilet and the floor. You can reinforce this joint by making a lateral bead between the toilet and the floor.
Knowing how to apply caulk to a shower is crucial since caulking the bathroom is a necessary component of regular home maintenance. The preceding instructions can be used by both inexperienced and seasoned do-it-yourselfers to install a new, waterproof seal in your shower or bathtub.
DIYers should remember the fundamentals of caulking throughout the process, including having the appropriate sealant and tools on hand, applying caulk only to clean, uncaulked gaps, and waiting for the caulk to fully cure before exposing it to moisture.
Written by Vanessa Gallanti. December 8, 2022
Enthusiast about planning, project management, construction materials and technology, and construction. A civil engineer from Los Andes University and a content writer for Kukun.
Top blog posts


See more >
Recommended
Join our newsletter
Get helpful renovation tips, insightful home maintenance articles, real estate market trends, and more.
Please enter a name
Please enter a valid e-mail