Tips on how to clean a pull down kitchen faucet spray head
Updated Fri, Oct 27, 2023 - 4 min read
Top blog articles
We’ve often spoken about how knowing to handle small repairs and DIY home maintenance goes a long way in saving homeowners money while adding a new skill set. Learning how to handle simple plumbing problems is one of those essential skills we all ought to have.
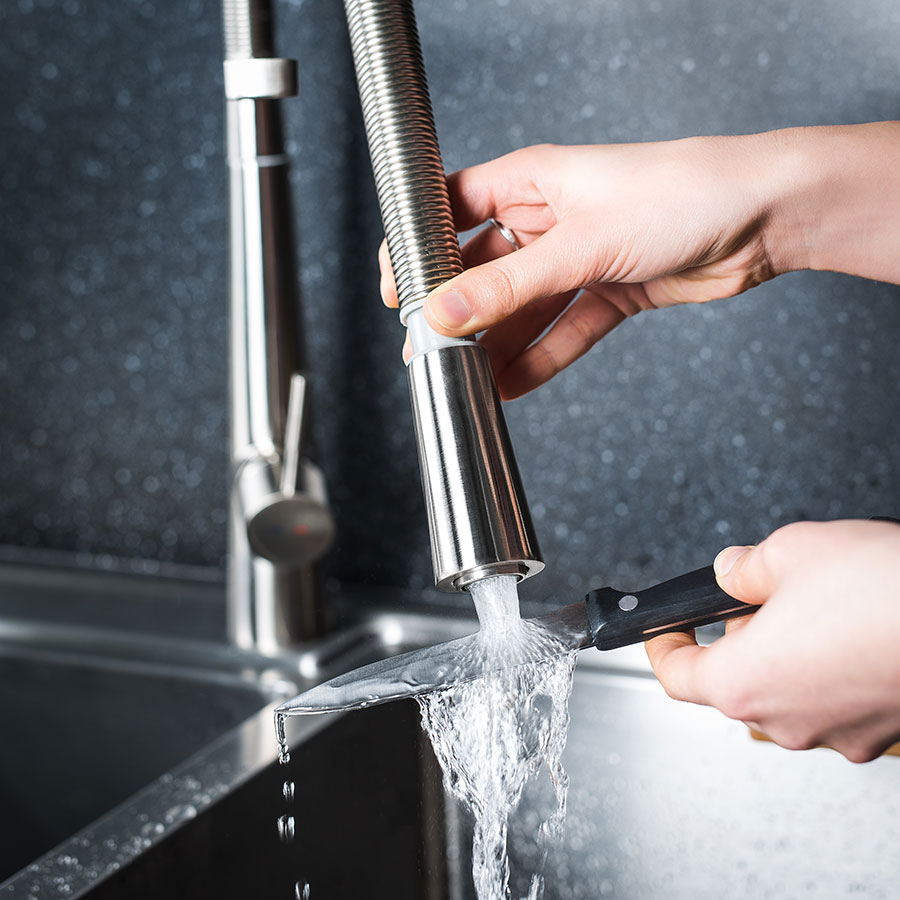
Your kitchen sink sees a lot of action, and the pull-down kitchen faucet spray head probably sees the most of it. If the flow of water from the faucet is weak, it is a sign that the spray head may be blocked.
In this short read, we’re going to give you handy tips on how to clean the pull-down faucet spray head in your kitchen.
Causes for the blockage

The most common reason for a blockage is mineral deposits and calcium either in the aerator in the spray head, inlet screen, or the backflow preventer. And the remedy to ease these blocks is found in every kitchen: white vinegar.
Let’s take a look at the procedure for cleaning the faucet spray head of blocks.
What you’ll need
As always, let’s first take a look at the tools and materials you’ll need for the task.
- Distilled white vinegar
- Adjustable wrench
- Pliers
- Flashlight
- A sponge
- Clamp or clothespin
- A bowl
- A flathead screwdriver
Aerator cleaning

Aerators are like mini-screens that are found in kitchen faucets, and the reason they are there is to introduce air into the water flow. As a result, what you get are tiny streams of water through the faucet head.
You can find aerators on spray heads, although their exact location depends on the brand of the faucet. In most cases, they are either in the face of the spray head or at the point where the head joins the hose.
Removing the aerator
The first part of cleaning the aerator involves removing the aerator from the pull-down faucet.
Begin by pulling out the head and the hose. Hold it in place using a clamp or clothespin.
Unscrew the spray head and locate the aerator either in the spray face or near the hose connector. If the aerator is in the face of the spray head, use the adjustable wrench to loosen the face and remove the aerator.
Otherwise, use a flathead screwdriver to carefully pry out the aerator.
Aerator cleaning
Cleaning the aerator is really simple. All you need to do is rinse it under the faucet and use a sponge to remove the sediments!
Sprayer head cleaning
Since you’ve taken apart the spray head, you might as well clean it up as well to make sure there are no sediments in there.
To clean the spray head, submerge it overnight in vinegar. Then, wash it thoroughly under flowing water before you reconnect it to the faucet hose.
Problem still not solved?
If the flow of water is still weak, then remove the spray head and check the flow again. If you see a weak trickle of water, it means there is a blockage at the faucet end fitting, usually made of plastic, and this needs to be cleaned as well.
Faucet hose fitting cleaning
Use a flashlight to check underneath your sink for where the faucet hose comes out from the spout tube. Once you follow the hose to where it connects to the faucet, disconnect it by pulling the tabs that hold it in place.
Then, remove the fitting from the spray hose by using your pliers. Soak this plastic fitting in vinegar for a few hours before rinsing it with clean water and reinstalling it in place.
Your kitchen faucet spray head now ought to have a clear, strong, and uninterrupted flow of water.
Read more: Faucet repair tips for smooth running home
Written by Narayan Shrouthy. July 18, 2022
Narayan is a content writer for Kukun. With experience in both content writing and editing, Narayan mixes his writing and love for reading with his passion for music. As an active musician, He aims to be a key player in Kukun's content experience.
Top blog posts


See more >
Recommended
Join our newsletter
Get helpful renovation tips, insightful home maintenance articles, real estate market trends, and more.
Please enter a name
Please enter a valid e-mail