How to insulate exposed water pipes and winterize them
Updated Tue, Dec 5, 2023 - 5 min read
Top blog articles
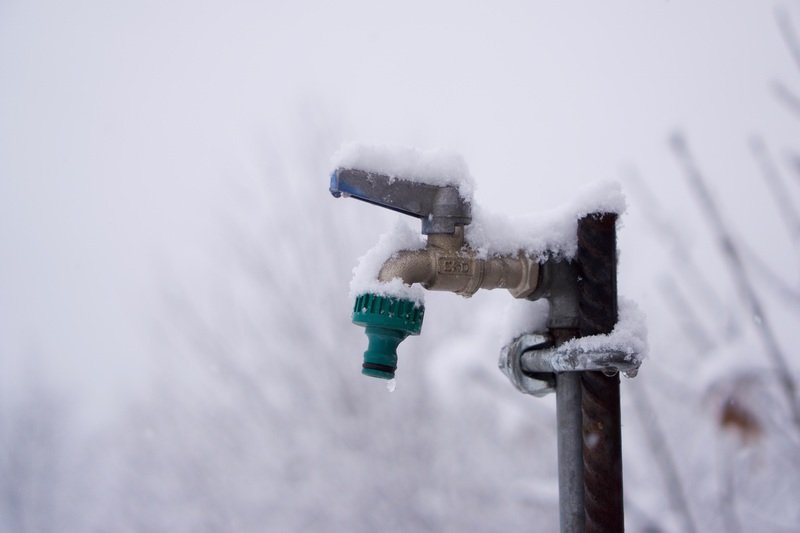
In extreme winters, water inside pipes may freeze and the expanding ice may fracture or burst the pipes. Especially, old already corroded pipes. And this may eventually lead to flooding and water damage on your property. If you’re looking for a way to avoid freezing pipes inside and outside your home, you’ll need to learn how to insulate exposed water pipes.
Insulation will lower your pipes’ exposure to the elements and reduce their chance of freezing. More importantly, this timely action will prevent your hot water pipes from losing their heat – saving you money on energy costs. And, your water heater will thank you for the insulation!
Do all pipes require insulation in winter?
Most homeowners assume that the only pipes and faucets they need to insulate are those on the exterior of their homes. However, insulation is beneficial for any pipe that is exposed and poorly insulated, including those in unheated areas such as external walls, garages, attics, basements, and the floor cavities above unheated crawl spaces.
Thorough pipe insulation will keep all the exposed pipes in your house safe and durable. And, will save money on energy costs by preventing heat loss significantly. And thus, will make your home energy-efficient. Once you insulate hot water pipes as well as cold water pipes, you can rest easily in extremely cold climates.
Can I insulate the exposed water pipes myself?
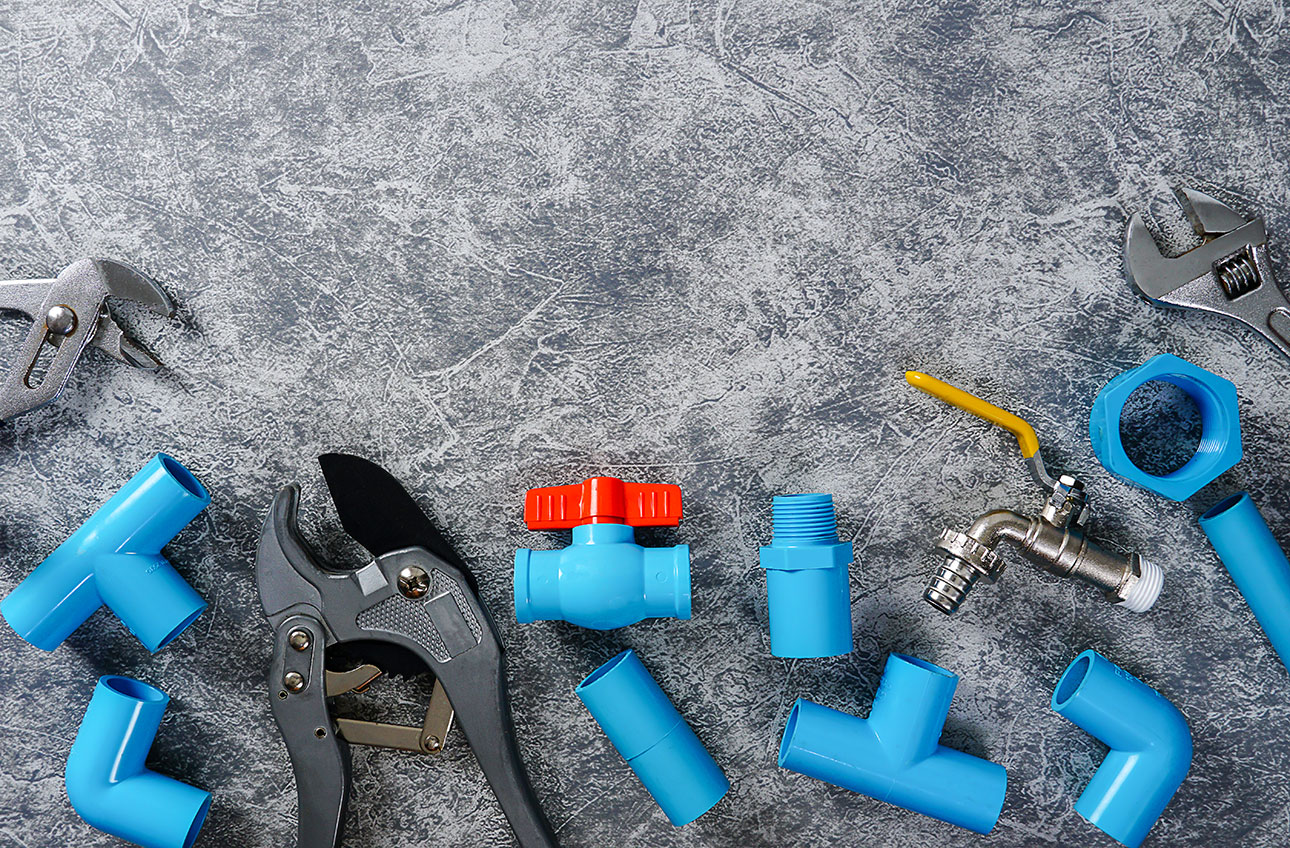
Yes, a pipe insulation project can well be a DIY – provided you do your due diligence regarding the home improvement project. To understand pipe insulation, you’ll need to know about the types of insulation methods available to you. Depending on the method employed, and the type of pipe you’re insulating, you’ll require insulation materials such as foam pipe sleeves, pipe wraps, or outdoor faucet covers. Other handy items may include duct tape, a ladder, expanding spray foam, and foam caulk rope.
How to insulate exposed water pipes?
There are a few insulation methods that you can utilize to insulate the pipes in your home. Let’s take a look at all of them and understand the step-by-step instructions on how to insulate exposed pipes.
Foam pipe sleeves
This is one of the easiest insulation methods that any enthusiastic DIYer can manage within a few hours. If you have long, straight pipes that need insulation, this method will do the job well. You can choose the length and diameter of the foam pipe sleeves depending on the size of the pipe you want to cover.
How to install foam pipe insulation over your pipes:
- Remove any dirt or grease on your pipes with a rag and a mild cleanser.
- Cut the sleeve to fit the length of the exposed pipe.
- Place the foam pipe sleeve along the pipe.
- Open up the sleeve slit and cover the pipe.
- Seal the seam with duct tape.
Pipe wrap insulation
Another simple way to insulate your pipes is to use pipe wraps. This method is recommended for insulating smaller pipes. There are many options available in wraps; you could use flexible foam with rubber backing tape, rubber pipe insulation tape, foam-and-foil pipe insulation tape, foil-backed natural cotton wrap, or bubble-film pipe wrap.
How to wrap your pipes:
- Take the loose end of the insulating wrap and start wrapping from one end of the pipe.
- Stick it in place with duct tape.
- Make spiraling loops to cover the entire pipe.
- Once the length of the pipe is covered, cut off the insulating wrap.
- Seal the end with duct tape.
Outdoor faucet covers
If you’re looking to protect your faucets from freezing or being damaged by falling ice from your roof and eaves, you can invest in hard foam faucet covers. These are easily available in most hardware stores or you can order them online.
How to install faucet covers:
- Disconnect the garden hose from the faucet and carefully put it away.
- Position the rubber loop around the spigot and place the cover over it.
- Hold the cover in place and tighten the slide lock – without leaving any air gaps.
Some useful pipe protection tips for the winter season
As winter approaches, you need to prepare your plumbing system for freezing temperatures.
- Regardless of the type of insulation you choose, watch out for any signs of distress on your pipes.
- Cut off the water supply to all your outdoor faucets if possible.
- Open the faucet spigots to drain out the pipes.
- Run them occasionally throughout the winter months to make sure the water pressure is normal.
- In extreme temperatures, turn on the outdoor faucets and let the water trickle slightly to prevent old pipes from freezing.
- You may use small lamps to warm the water lines that pass through unheated areas of your home.
Read more: Faucet repair tips for smooth running home
Last thoughts
Insulating the water supply pipes in your home’s exposed areas is a good idea. These pipes, exposed to exterior walls or unheated areas, may freeze, rupture, and flood your property in severe winter conditions.
If you’re looking to winterize your plumbing system, the first step is to insulate all the exposed water pipes in your home – preventing freezing and pipe bursting. Moreover, it will save energy, reduce heat loss, and keep any expensive repairs at bay.
Read more: Floor insulation
Written by Ramona Sinha. January 12, 2023
Ramona is the Senior Content Writer for Kukun. This experienced blogger uses simple and succinct words to decipher the complex phenomenon called life. She has written articles covering a broad range of topics, such as real estate, lending and mortgage, finance, business, taxation, home designs, home improvement projects, decor concepts, and more. An avid traveler, she’s a digital nomad at heart and an animal lover from the depth of her soul.
Top blog posts


See more >
Recommended
Join our newsletter
Get helpful renovation tips, insightful home maintenance articles, real estate market trends, and more.
Please enter a name
Please enter a valid e-mail