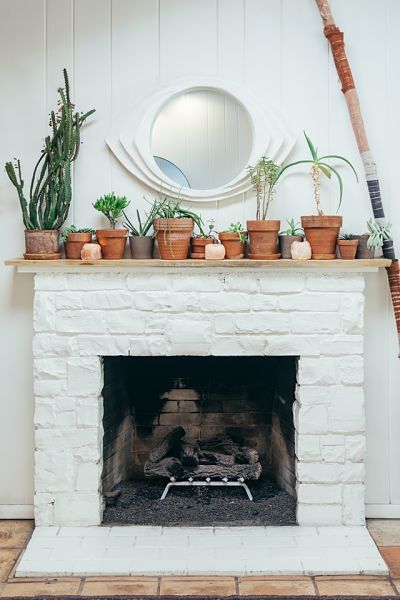
Inside fireplace painting in three easy steps
Updated Fri, Oct 14, 2022 - 4 min read
Top blog articles
Winter is going to be here in a couple of months, so it is that time of the year to get our HVAC maintenance in place and winterize our homes. If you have a brick fireplace that gets used fairly often, we’re sure you would have observed that the inside of the fireplace, or the firebox, gets quite beaten up with regular use, what with all the soot stains and ashes when you burn wood.
It may just be time to break out the elbow grease and start off on a home improvement project. Here are some handy DIY tips on how you can paint the interior of a fireplace in three easy steps.
Buying the right paint
The firebox of your fireplace is bound to get extremely hot while in use, so you will need to make sure that the paint you buy is high heat resistant paints. The paint should be able to withstand temperatures exceeding 500 degrees Fahrenheit. At temperatures that high, regular paint would simply peel and chip off.
There are two types of paints you could choose that can withstand high temperatures: spray paint and brush on. While spray paint may be easier to apply among the two, you have more control over the coverage of each coat of paint.
Another aspect that needs to be considered is the color of the paint. High heat paints come in a variety of colors and shades. But you will want to choose a color that suits the room’s decor and is easy to maintain.
Black is a popular choice for fireboxes, especially if your wood-burning fireplace is used for most parts of the year. Being a neutral color, black works with all kinds of decor and interior design elements, all while making sure signs of soot are not noticeable.
Other colors like beige and off-white are great choices if your fireplace is being used only for a couple of months in the year. While you won’t have to bother about soot stains the rest of the year, the paint will hold up to regular use in the winter months without peeling or chipping off. However, you may need to touch up the paint job once winter is over to get rid of the soot stains.
Read more: Electrostatic painting in homes
Prepping the inside of the fireplace
Before you paint the inside of your fireplace, it needs to be prepped. Begin by placing a drop cloth in front of the fireplace to avoid dirtying the floor and carpeting in the room. Empty any wood residue, soot, and ashes, using a sturdy broom first and then a vacuum cleaner. It goes without saying that you will need to make sure there are no live embers when you start.
If your fireplace has a metal log holder, take that out as well. Now, you’re ready to start cleaning the fire pit.
Use soap, water, and a fireplace cleaner, such as trisodium phosphate (TSP). A long-handled scrub brush is guaranteed to help you clean more efficiently. Once you’re done scrubbing, wipe the firebox down with a wet cloth and wait for it to dry.
Inside fireplace paint: Primer and paint time
If you’re painting over a metal surface, you will need to apply a layer of galvanized etching primer, but if you’re painting over brick, that won’t be necessary.
Always begin at the back and on top of the firebox and work your way down and forwards. If you feel the fireplace requires another layer, wait for 24 hours before applying a second coat.
Keep in mind that high heat paints have a very strong odor while being applied, but the odor fades away as the paint dries up. However, it is always advisable to use a face mask and protective gloves while working.
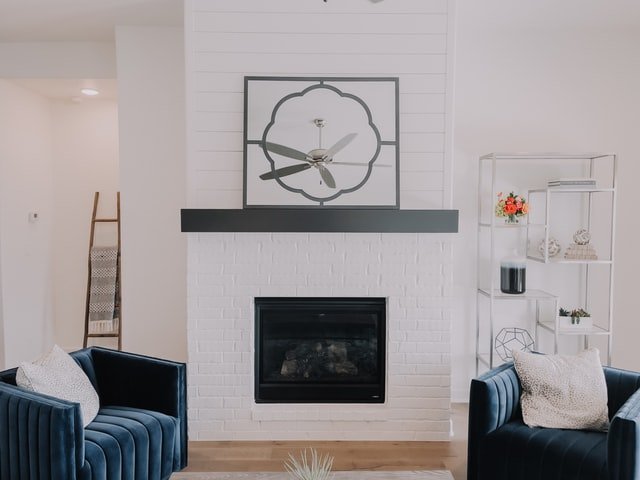
Now that the inside of your fireplace has been given a facelift, you may suddenly notice that the outside of the fireplace needs an upgrade as well. It may already be time for another home improvement plan!
Written by Narayan Shrouthy. December 13, 2021
Narayan is a content writer for Kukun. With experience in both content writing and editing, Narayan mixes his writing and love for reading with his passion for music. As an active musician, He aims to be a key player in Kukun's content experience.
Top blog posts


See more >
Recommended
Join our newsletter
Get helpful renovation tips, insightful home maintenance articles, real estate market trends, and more.
Please enter a name
Please enter a valid e-mail