DIY instructions to repair a toilet supply line leak
Updated Wed, Nov 2, 2022 - 4 min read
Top blog articles
DIY home plumbing repair is something of a hit and miss. Some repairs are easy to handle, while others definitely require the attention of a licensed plumber. Repairing a toilet water supply line is one of those situations. While most people would call a plumber, it is possible for you, the homeowner, to tackle the situation by yourself.
Let’s suppose you notice water leaking every time you flush the toilet. That is a sign that there is a leak in the supply line. This could be caused by damage to the supply line itself, by a worn-out washer, or damaged fittings. Here’s the process of repairing the supply line leak.
Know the line
Let’s begin with defining what a toilet supply line is and where it is located.
The toilet supply line carries water to the toilet tank from a nearby cold water source. This supply line is found below the toilet tank and is usually a white plastic or a chrome pipe that runs from the wall to the tank.
What you’ll need for repair toilet supply line leaks
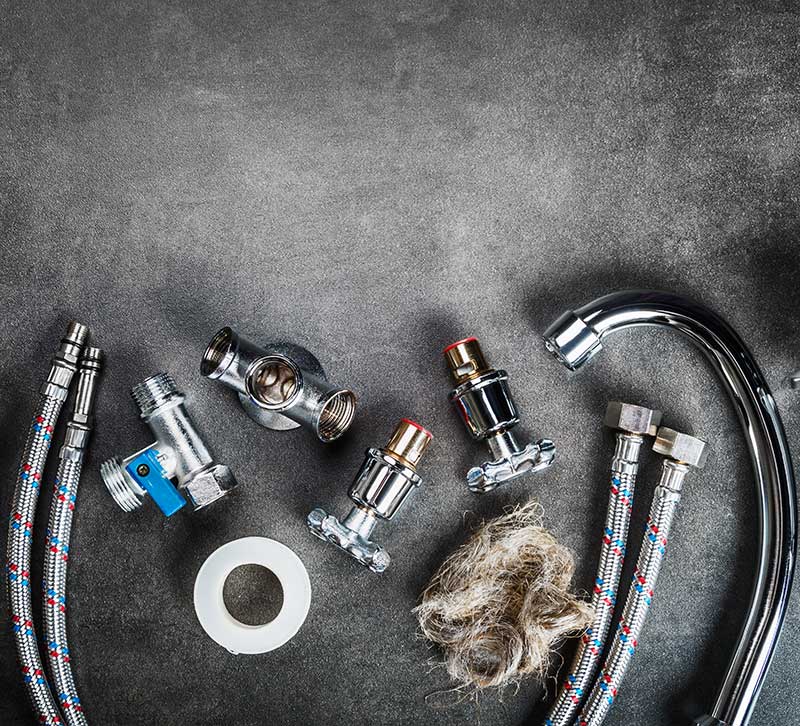
- Plumber’s tape ($1-$5)
- Small pipe wrench
- Water supply valve or shut off valve ($34-$39)
- Rubber washer
- A dry rag
The process
Let’s take a look at the process of fixing the toilet supply line leak.
Where is the leak?
The first thing you will need to do is figure out where the leak is on the supply line. That way, you’ll know if the leak is fixable or if you need to replace the supply line itself.
Identifying the location leak is fairly easy to do. Run a dry rag from the top of the line, located below the toilet tank, slowly all the way to the end of the wall. This should give you an idea of where the leak is.
If the line itself seems to be leaking, you have no choice but to replace the line itself. However, if the leak is towards either the tank end or the wall, you will be able to repair it.
Tightening the fittings
If the leak seems to be at the fittings, it can be easily stopped by tightening the fittings. You will need to use your small pipe wrench and tighten the nut, called a compression nut, gently until the fittings are tight.
The reason we ask you to be gentle is that if you apply too much force, you could damage the fittings.
Wipe the area with a dry rag after you’re done tightening the fittings, and wait for a few minutes. Then, check for leaks at the same spot once again with the rag.
Washer replacement

If the leak still persists, the cause of the leak may be damaged rubber washers. However, before you examine the washers, you will need to turn off the water supply to the tank at the main shut-off valve or water supply valve.
Turn the supply valve anti-clockwise to shut off the supply. Then, use the small pipe wrench to remove the nut that attaches the supply line to the tank. This will detach the supply line as well. Keep in mind that the line will still contain some water, and having a bucket handy will avoid unnecessary spillage.
Inside each of the fittings you removed, you will find a rubber washer. These tend to crack and get damaged over time. Replace these washers even if they look undamaged to you.
Then, reattach the supply line and the fittings. Turn the fill valve clockwise to restore the water supply and check for leaks once again.
Plumber’s tape
If the other two remedies haven’t worked, it means the threading on your fittings may have worn out. Once again, shut off the supply line valve, detach the supply line and then wrap the plumber’s tape around the threading of the fittings. This will create a waterproof seal that should prevent a leaking toilet for a while.
Written by Narayan Shrouthy. March 13, 2022
Narayan is a content writer for Kukun. With experience in both content writing and editing, Narayan mixes his writing and love for reading with his passion for music. As an active musician, He aims to be a key player in Kukun's content experience.
Top blog posts


See more >
Recommended
Join our newsletter
Get helpful renovation tips, insightful home maintenance articles, real estate market trends, and more.
Please enter a name
Please enter a valid e-mail