A guide to water heater cleaning and maintenance
Updated Mon, Oct 14, 2024 - 5 min read
Top blog articles
Our home’s water heaters run all day, all year long. While gas water heaters are built to serve you for at least a period of 10 years, electric water heaters can last as many as 15 years or more. This is, of course, provided they receive timely maintenance and repairs.
Thankfully, draining and cleaning a water heater is a DIY project that most of us homeowners can do quite easily. This short guide to water heater cleaning and maintenance is just what the novices among us need to nudge us in the right direction.
Why cleaning a water heater is important
Water heaters have a cold water dip tube running to the bottom of the water heater tank, while hot water exits from the top of the tank. When you have dirt in the water, and mineral deposits, as in the case of places with hard water, these sediments tend to settle at the bottom of the water tank.
If these sediments and calcium deposits are left to build up, your water heater is bound to experience clogged water pipes, affecting the water supply to the tank, damage to the heating element resulting in inefficient heating, and may even lead to health issues in the long run due to the compromised quality of the water being used.
Read more: Clean calcium buildup in showers
The process
Turn off the heater
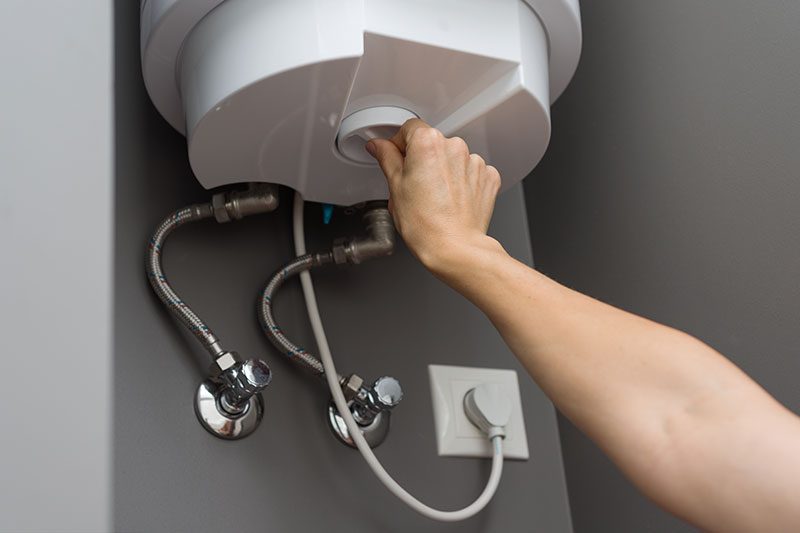
If you have a gas water heater, set the gas valve to the vacation setting. This will cut off the gas supply to the heater.
In the case of electric heaters, you will need to first turn off the power to the heater. You may find a power button on the side of the tank itself, or on the thermostat. Once that has been turned off, head to your home’s main circuit breaker and locate the switch that services the water heater. It is legally required for every home to have one.
Once you’ve located the switch, turn that off as well.
Make sure you wear protective rubber insulating gloves while handling electrical switches and circuit breakers to protect yourself against electrical shocks and mishaps.
Read more: Why is electric heater blowing cold air
Cleaning the outside
The outside of your water heater tank is likely to have layers of dust and dirt collected over time. Use a vacuum cleaner to remove as much of that dirt as you can. The crevice attachment on the vacuum cleaner will allow you to reach the bottom of the tank as well as the area behind the tank as well.
Next, wipe down the external surfaces using a damp rag, and if necessary, a household spray cleaner.
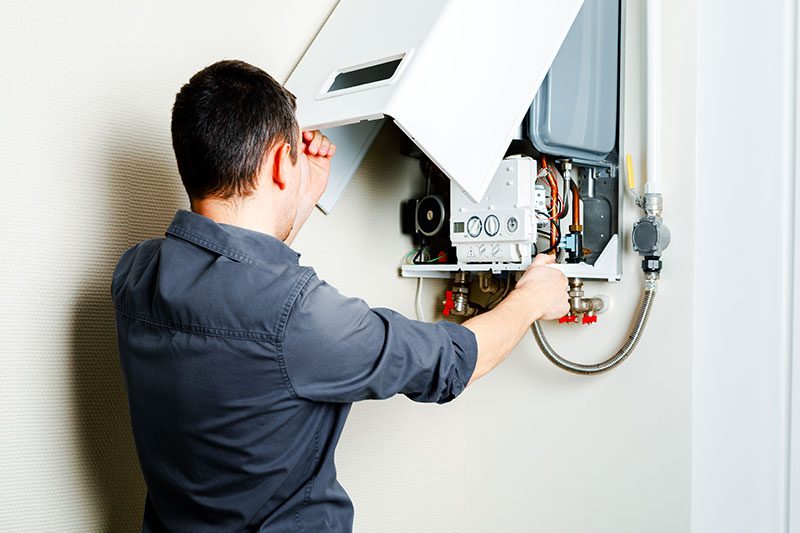
Now would also be a good time for you to check the pipes and the tank itself for leaks. Leaks cost us more in water bills than we tend to notice.
The easiest way to detect cracks or leakages in the pipes or the tank itself is to clean them up, wipe them dry, and then wait for a few minutes. If you spot any signs of moisture, that means there is damage, and you may need to call a professional plumber to address it.
You may also want to consider replacing your existing plastic drain pipe with a more durable brass valve.
Read more: Water heater pilot light keeps going out
Draining the tank
An important part of water heater maintenance is to drain the water tank at least twice a year. This will remove all the sediments from the tank and prevent limescale from forming on the inside of the tank.
We mentioned earlier in this guide that the cold water valve is usually located on the top of the tank. The first thing you will need to do is locate that valve and turn off the water supply to the tank.
The next thing you will need to locate is the drain valve, located at the bottom of the tank. Drain valves look like faucets, so they should be easy to identify. Place a bucket underneath this valve to control the spillage when the tank is drained.
Connect a garden hose to the valve, with the other end either next to a floor drain, in a sink, or ideally, outside the window. Then, open the drain valve to drain out the contents of the tank.
If you want to speed up the draining process, turn on the hot water faucet to introduce air into the tank. The increase in air pressure will push water out of the drain valve.
In order to clear out the tank of all sediments, especially in areas with hard water, refill the tank with cold water and repeat the process a couple of times more.
Read more: How to drain a water heater
Additional cleaning
If you have the time and inclination, you can also remove the drain valve entirely after draining the tank and gently clean the insides of the tank to remove any leftover sediments. To do this, you will need to use the type of brush used to clean refrigerator coils, which should be available at your local hardware store.
Once you’ve done this, reconnect the drain valve and proceed to flush the tank one last time.
You now know how to clean your hot water heater. However, the process for cleaning tankless water heaters is quite different.
Read more: What shower head filter do
Written by Narayan Shrouthy. March 22, 2022
Narayan is a content writer for Kukun. With experience in both content writing and editing, Narayan mixes his writing and love for reading with his passion for music. As an active musician, He aims to be a key player in Kukun's content experience.
Top blog posts


See more >
Recommended
Join our newsletter
Get helpful renovation tips, insightful home maintenance articles, real estate market trends, and more.
Please enter a name
Please enter a valid e-mail