DIY instructions for mailbox post replacement
Updated Wed, Mar 25, 2026 - 5 min read
Top blog articles
Mailbox posts get damaged due to a variety of reasons. The weather gets to them, causing them to rot. Termites and carpenter ants get into the wooden posts and destroy them from the inside. And of course, errant snow plows and garbage trucks cause irreversible damage when they ram into them.
Whatever the reason may be, a damaged mailbox post means having to replace the mailbox and post. However, this is a fairly simple and inexpensive process. Hiring a professional to do this for you could cost you around $280. However, if you do it yourself, it would cost you only between $75 and $125 on an average.
So, go ahead and make it a DIY project by using these simple instructions.
Post replacement and mailbox installation
Call before you dig
Whether you’re removing the old post and replacing it with a new one or simply installing a new mailbox in a different location, digging is a part of the job. Before you begin to dig, call your local authorities for permission and to make sure you don’t damage any gas or utility lines in the process.
Considering you’re likely to dig more than two or three feet deep to install a mailbox post, the chances of you actually damaging anything are slim to none. However, it’s always better to be safe than sorry.
How to replace a mailbox post
Removing the old post
Removing the old post is not very difficult just as long as the post is not set in cement. If there isn’t any cement, nail a piece of 2×4 lumber onto the post a few inches off the ground. Then, use a mason’s bar or any other handy tool for a fulcrum and pry the post off the ground.
The process is more difficult if the post is set in cement. In fact, it may actually make more sense to install a mailbox post in a new location simply.
However, if you do want to remove the post, it will mean moving the cement as well. You will need to dig wider around the post, and muscle out the ball of cement from underneath.
New post regulations
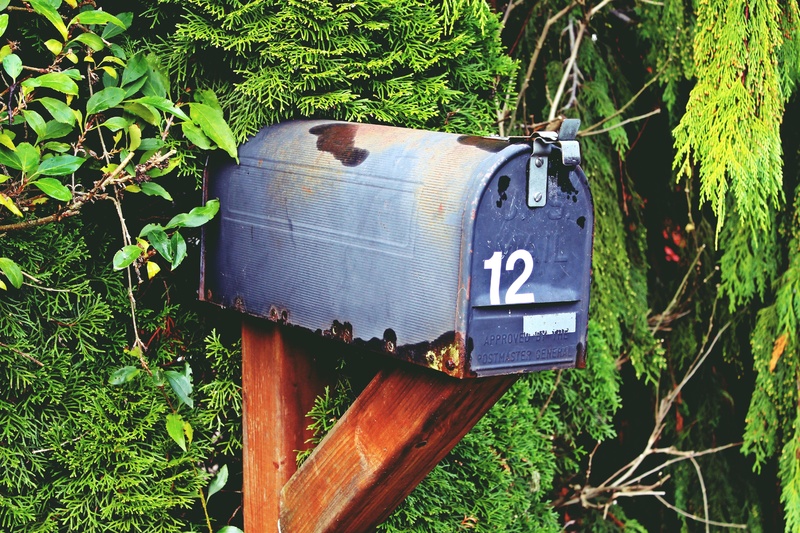
The US Postal Service has specific regulations regarding curbside mailboxes and deliveries. Ensure the post height falls between 41 to 45 inches from the road surface to the mailbox bottom. Mounted mailboxes must allow easy vehicle access, so consult your local postmaster for precise rules. Whether you choose a standard or custom design, all mailbox installations require USPS approval to avoid delivery interruptions.
Even if you want to build a custom post box to enhance your home’s curb appeal, you will still need to get approval from the post office on the design. Get it wrong, and your mail may never be delivered to you.
Choosing the right post
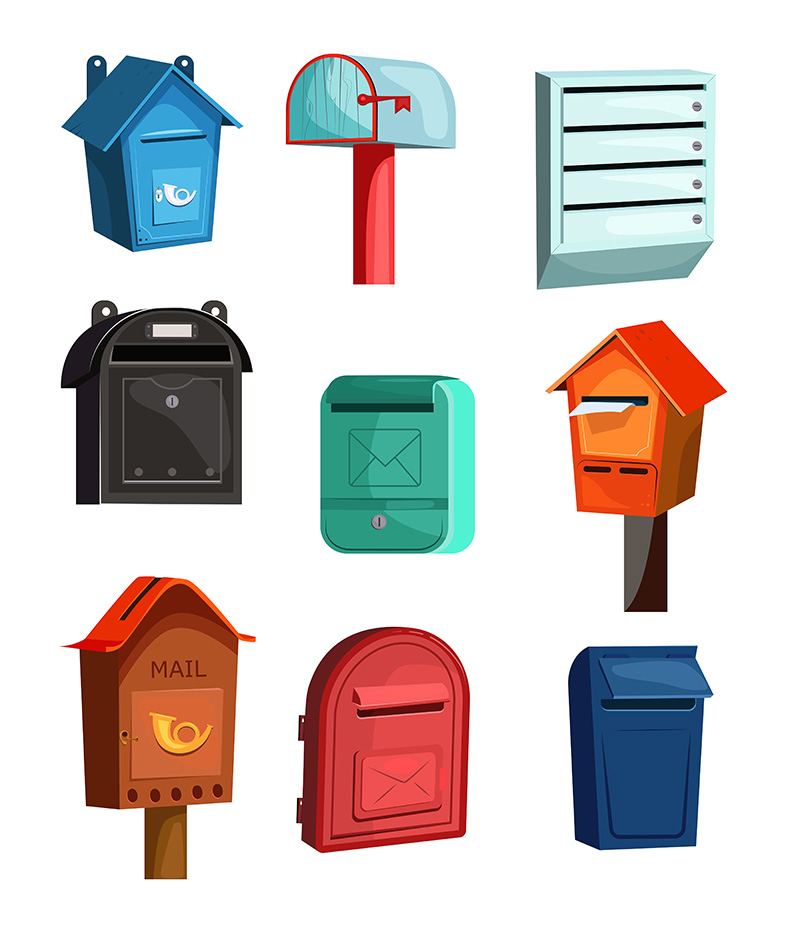
Plastic
Plastic mail posts have a lot of advantages. For one, they are very durable and will outlast most wood and aluminum posts. They also come in a variety of designs and finishes that you can choose from.
Metal
Your options here are either aluminum or stainless steel. Among the two post materials, aluminum comes out on top because it doesn’t rust like steel does.
Wood
Wood posts remain the all-time favorite, especially among those looking to build a post themselves, even though the material itself is not the most durable.
While cedar and redwood are both resistant to insects, they are expensive and are sure to rot underground after a while.
Untreated Douglas fir and pine need to be treated before you can use them but have the shortest lifespan irrespective since they are prone to insect infestations.
Pressure-treated wood is a great choice but will need further treatment for the portion that is above the ground.
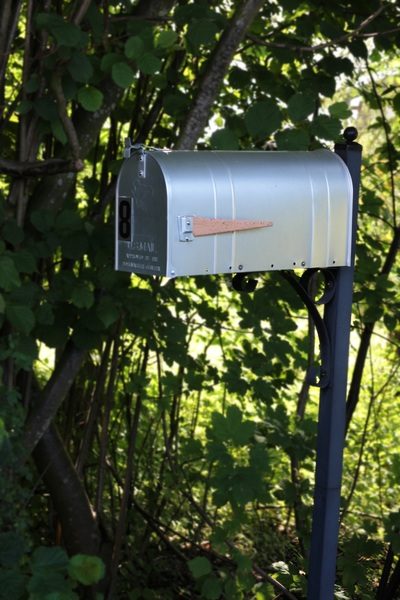
Installing the post
You will first need to dig a hole to install the post. Rent or buy a post hole digger so as to disturb the least amount of soil, and dig a hole no more than 18 to 24 inches deep.
The next step is to attach the post to the hole. Start by adding around 6 inches of gravel into the ground. This will ensure water doesn’t pool at the base.
Then, hold the post level and pack the hole up with soil. Use a level to make sure the post is standing straight.
Unless you’re installing heavy metal ornamental posts, you don’t need to use the concrete mix to hold the post in place.
Now, you will need to attach the post-mounted mailbox. It is always advisable to use galvanized steel screws to do this and to never use nails to mount mailboxes.
Finally, remember that you need to display your street address and house number on the side of the mailbox visible to the mailman, even if your house number is displayed on your door.
Bottom line
Learning how to replace a mailbox post is a simple yet essential home maintenance task. Whether you need to install a mailbox post for a new home or replace a damaged one, following these steps ensures a sturdy and USPS-compliant installation. By carefully selecting materials and properly securing the post, you can enhance curb appeal and prevent future damage. Now that you know how to replace a mailbox post, you can take on this DIY project with confidence and avoid the costs of hiring a professional.
Written by Narayan Shrouthy. July 28, 2022
Narayan is a content writer for Kukun. With experience in both content writing and editing, Narayan mixes his writing and love for reading with his passion for music. As an active musician, He aims to be a key player in Kukun's content experience.
Top blog posts


See more >
Recommended
Join our newsletter
Get helpful renovation tips, insightful home maintenance articles, real estate market trends, and more.
Please enter a name
Please enter a valid e-mail