Top blog articles
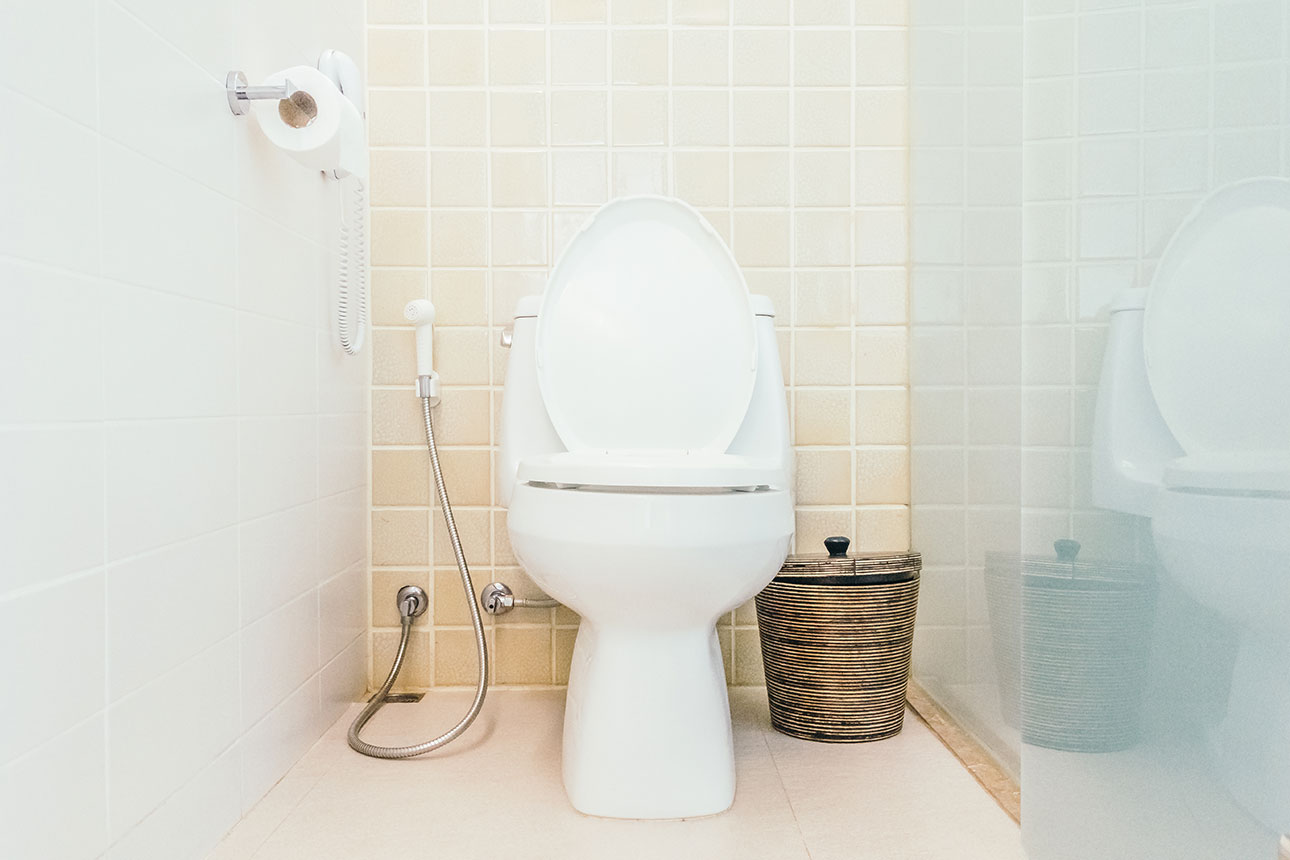
Struggling to remove your toilet seat bolts, especially when they’re rusted or hidden from plain sight? It’s understandable. Many homeowners face this challenge when cleaning or replacing their toilet seats. The good news is you don’t need to call a plumber or handyman. With the right tools and a bit of patience, you can easily know how to remove toilet seat bolts—even those with hidden fixings.
Here, we’ll walk you through how to remove toilet seat bolts step-by-step, provide handy tips, and share solutions for stubborn or rusted bolts. Let’s begin.
When Should You Remove Toilet Seat Bolts?
Removing toilet seat bolts is often necessary for:
- Deep cleaning and maintenance.
- Replacing an old or broken toilet seat.
- Upgrading to a new style or model
What Do You Need to Remove Toilet Seat Bolts?
Toilet seat bolts, especially hidden fixings, are designed to be out of sight for a cleaner look. However, this can make toilet seat bolt removal tricky if you don’t know how to access them. But here are the steps you can take.
Tools You’ll Require to Remove Toilet Seat Bolts
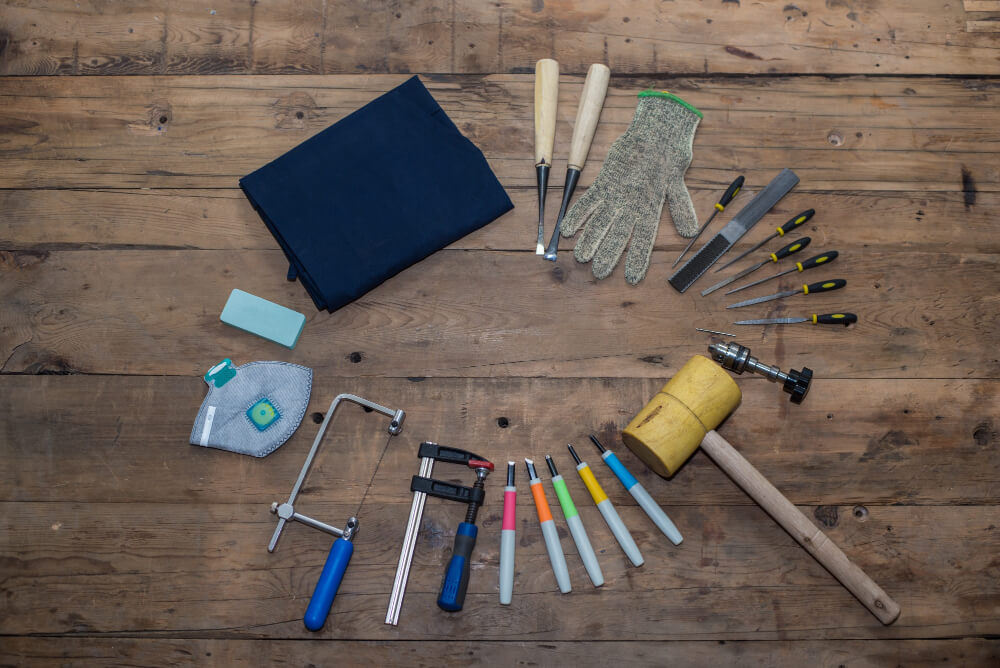
Before starting, gather these essential tools:
- Protective gloves
- Penetrating oil (like WD-40)
- Drill with various bits
- Hacksaw or mini hacksaw
- Masking or duct tape
- Putty knife or wide flat knife
- Socket wrench with extensions
- Pliers
- Flathead screwdriver
- Safety glasses (for drilling or cutting)
Having these ready will make the process smoother and safer.
How to Remove Toilet Seat Bolts: Step-by-Step Guide
Prepare and Protect
Put on your protective gloves and clean the toilet seat surface to remove any dirt or grime. This makes handling easier and prevents slipping.
Secure the Toilet Seat
Use masking or duct tape to hold the seat and lid together firmly. This prevents movement when loosening bolts or cutting. If you need to drill or saw near plastic parts, place cardboard or tape over the area to protect the seat from scratches.
Locate and Remove Plastic Caps
Hidden fixings usually have plastic caps covering the bolts. Use a flathead screwdriver to gently pry off these caps. Be careful not to damage the plastic.
Loosen the Nuts and Bolts
Underneath the toilet bowl, you’ll find the bolts secured by wingnuts. Use pliers to hold the nuts steady and a screwdriver or socket wrench to turn the bolts counterclockwise. If the bolts are stuck, don’t force them too hard to avoid breaking.
Apply Penetrating Oil for Rusted Bolts
If the bolts are corroded or rusted, spray them with penetrating oil such as WD-40. Let it sit for 5–10 minutes to loosen the rust. If you don’t have WD-40, a homemade mix of 10% acetone and 90% vegetable oil can work as an alternative lubricant.
Use a Hacksaw if Necessary
For bolts that won’t budge, carefully use a hacksaw to cut through the bolt or hinges. Place a putty knife or a wide flat knife between the porcelain and the bolt to protect the toilet from scratches. A mini hacksaw is ideal for tight spaces.
Drill Out Stubborn Bolts as a Last Resort
If all else fails, use a drill with a small bit (around 1/16 inch) to carefully drill through the bolt head or nut. Wear safety glasses and apply steady pressure. Gradually increase the drill bit size to widen the hole until the bolt loosens. Be cautious to avoid damaging the toilet bowl.
Extra Tips for Removing Toilet Seat Bolts
- Regular Maintenance: Clean and check bolts periodically to prevent rust and corrosion.
- Use Quality Fixings: When replacing, choose rust-resistant bolts and fixings for longevity.
- Stay Patient: Removing bolts and fixings can be tricky—take your time and avoid rushing.
- Keep Spare Parts: Having extra bolts and nuts on hand can save time during replacements.
Read more: Want to Relocate Your Toilet?
Last Thoughts
Removing toilet seat bolts, especially with hidden fixings, doesn’t have to be a headache. With the right tools, a bit of patience, and the steps outlined above, you can easily remove or replace your toilet seat bolts yourself. Whether you’re tackling stubborn rusted bolts or simply doing routine bathroom maintenance, these tips will save you time and money.
Remember, regular cleaning and maintenance help prevent corrosion and make future removals easier. Next time you wonder, “How to remove toilet seat bolts?” you’ll be ready to handle it like a pro!
Frequently Asked Questions (FAQs)
How Much Time Does It Take To Remove Toilet Seat Bolts?
Removing toilet seat bolts typically takes 10 to 20 minutes, depending on whether the bolts are rusted or easily accessible.
How Do I Know If My Toilet Seat Has Hidden Fixings?
Look for plastic caps or covers at the back of the seat hinges. Hidden fixings are usually concealed under these caps.
Can I Remove the Toilet Seat Without Tools?
Most toilet seats require at least a screwdriver or wrench. However, one with hidden fixings almost always needs specific tools.
What If the Bolts Break Inside?
Use penetrating oil and a drill to remove broken bolt fragments. If you’re unsure, consult a professional.
Written by Jennifer Branett. April 21, 2018
Hey I’m Jennifer Branett. I was born in Chicago, IL and in 2011 I graduated from Triton College with a degree in Communication. I’m an aspiring Entrepreneur, successful writer and blogger. The topics that I cover ranges from: healthcare, home improvement, personal finance, art, fitness and many more. I hope I can continue this journey of self-fulfillment and self-discovery and keep providing value to people’s lives.
Top blog posts


See more >
Recommended
Join our newsletter
Get helpful renovation tips, insightful home maintenance articles, real estate market trends, and more.
Please enter a name
Please enter a valid e-mail