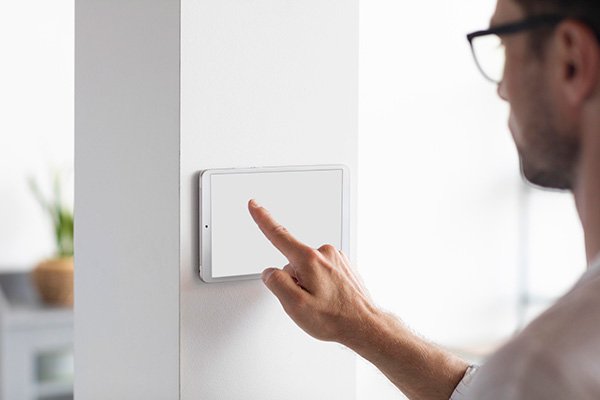
DIY home improvements: Smart thermostat replacement
Updated Tue, Jan 20, 2026 - 4 min read
Top blog articles
As a regular reader/subscriber of our blogs and discussions, we’re sure you’ve come across multiple articles discussing how to make homes more energy-efficient. Among the many home improvements that will help you save money via energy savings, replacing an old thermostat with a new wifi thermostat or smart thermostat is right on top of that list.
We’re going to take you through a detailed description of the process of DIY thermostat replacement.
Thermostat replacement: The process
Turning off the power

- Turn off the power supply to your home’s HVAC system. Ideally, it ought to be clearly labeled in your main service panel and should not be difficult to find.
- Double-check to make sure you’re installing the new thermostat on a circuit that corresponds to the highest voltage advised by the manufacturer. If the voltage is too high or short, you could seriously damage the controls and may even become a fire hazard.
Removing the old unit
- Use a screwdriver to remove the cover plate on the old thermostat, exposing the mounting screws.
- Unscrew the mounting screws to remove the thermostat body.
Labeling wires
- It is important to label wires properly so you know which wire and which terminal belong together while attaching the new thermostat.
- Since there isn’t a standard color code, use alphabets to label the wires.
- Disconnect the wires and either tape them to the wall or wrap them around a pencil to stop them from slipping into the wall cavity.
Checking if a C-wire is a needed
- All smart thermostats use something called a C-sire, or common wire, for an uninterrupted supply of power only to the thermostat without turning on your fan or other gadgets.
- If you’re upgrading from one smart thermostat to another, a C-wire will already be present. However, if you are upgrading to a smart thermostat from a regular one, the C-wire may not be attached to the circuit.
- In some cases, an unused C-wire may be stuffed in the wall, attached to the main service panel. Check, and if you find one, you can use this while installing the new device.
- If there is no C-wire, purchase a power extender kit or an “add-a-wire” kit, and follow the manufacturer instructions on the box to add a C-wire.
- Also, if your HVAC panel has an empty C terminal, install a C-wire yourself and run it to the thermostat through the walls.
- If you’re not confident enough to handle the installation yourself, hire a licensed electrical contractor to handle the job for you.
Read more: What adds value to a home improvements
Installing the new base and wiring
- Loosen the mounting screws and remove the existing thermostat base.
- Separate the new thermostat face and base. Screw in the new wall plate first.
- Thread the low voltage wires through the corresponding outlets on the base plate.
- Mount the base on the wall and use a level to make sure it is properly aligned.
- Connect the low voltage wires to the corresponding screw terminals. Consult your new thermostat’s user manual to confirm you’re doing it right.
- Make sure the remaining wires and sheathing are in good condition. Tighten any loose wires.
- If the new device requires any batteries, now is the time to install them.
Read more: Smart home wiring
Mounting the new thermostat
- To finish mounting the new thermostat base, gently push the connected wires gently into the wall cavity and plug it with a fire-resistant material such as fiberglass insulation.
- Screw on the control unit to the base.
- Restore power to the heating and cooling system. Then, clear the program memory by pressing the reset button.
- Use the manufacturer’s instructions to program the new thermostat.
- Test the heating and air conditioning systems to make sure the new thermostat works properly.
Read more: Small energy efficiency upgrades
Thermostat replacement pro tips
- The process to install other types of thermostats, such as programmable thermostats, is similar to installing a wi-fi thermostat. However, always check manufacturer instructions to be safe.
- Installation instructions for two-wire systems, i.e., those with only either heating or only cooling are different from the instructions mentioned above. Once again, refer to the manufacturer’s user manual.
- If your home has more than one HVAC system, install a thermostat for each of them for optimal energy efficiency.
- The average cost of a smart thermostat is between $250 and $300, with a range from as low as $100 to as high as $500.
Read more: Radiant barriers
Written by Narayan Shrouthy. November 10, 2021
Narayan is a content writer for Kukun. With experience in both content writing and editing, Narayan mixes his writing and love for reading with his passion for music. As an active musician, He aims to be a key player in Kukun's content experience.
Top blog posts


See more >
Recommended
Join our newsletter
Get helpful renovation tips, insightful home maintenance articles, real estate market trends, and more.
Please enter a name
Please enter a valid e-mail