Top blog articles
So, you’re great at making YouTube videos, and people love them. A big shoutout for you! As your brand grows in popularity, it’s time to move to the next level and create a dedicated YouTube studio setup at home.
Don’t worry, it doesn’t have to break the bank or consume an entire room. With a few smart choices and a little creativity, you can have a high-quality setup that enhances your videos and makes content creation a breeze.
Your home studio can be your creativity hub — a place where you get your inspirations, a smooth workflow going, and create the most amazing online videos.
Once you have a pro-level studio, there’s no way your creativity won’t flow to give you the best YouTube video ideas. Let’s delve deeper into what it takes to build a YouTube studio setup at home, the budget, the studio decor, and the tools as well as the equipment required.
What should you keep in mind when creating a YouTube studio setup?
Remember the mantra – location, location, location
The first step in your YouTube studio journey is choosing the right space. This could be a spare bedroom, a corner in your living room, or even a nook in your basement. Look for a spot with minimal background noise and plenty of natural light.
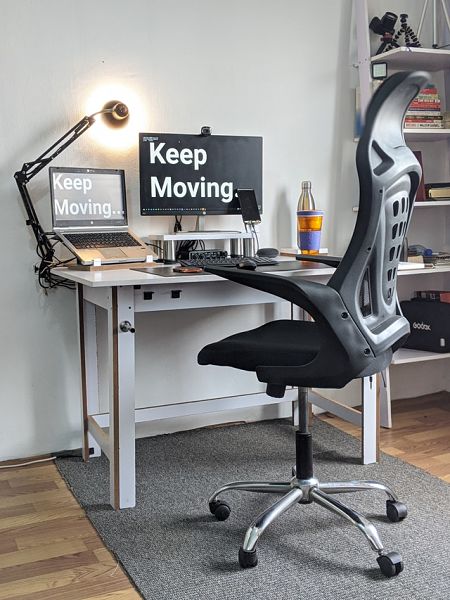
If you’re making videos with simple graphics, streaming from video games, or creating a slideshow format — then all you need is a good PC or tablet and some video editing applications in any part of the house. Make sure you have a good desk to work on.
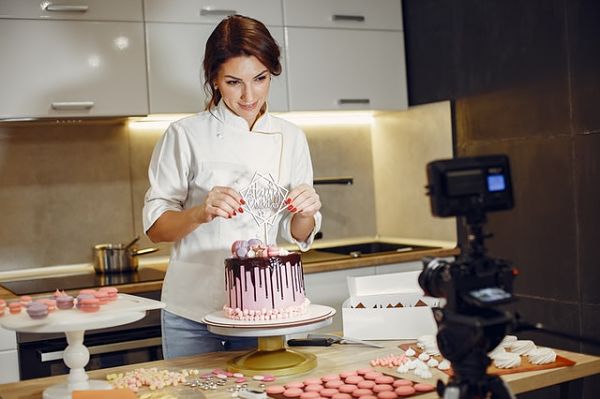
Similarly, if it’s a simple cookery class, your well-lit kitchen can suffice. But, if you’re conducting an online makeup tutorial or vlogging, you must invest in a separate home studio. Preferably a soundproof room.
Ensure superb sound quality – Your secret weapon
One aspect many beginners overlook is sound quality. Even if your video looks incredible, poor audio can ruin the experience for your viewers. Here’s how to nail it:
- Invest in a good microphone: A shotgun microphone or a USB condenser mic is perfect for home studio setups.
- Control echo: Blank walls can bounce sound around, creating echoes. Soft furnishings, rugs, and acoustic foam panels can help absorb unwanted sound reflections.
- Minimize background noise: Choose a quiet space and turn off any devices that might hum or buzz in the background.
Get the visuals right with good lighting and backdrops
Needless to say, your video should be well-lit for it to look great. If you do not want to install too many light fixtures, make sure your home studio has a good amount of natural light streaming in, and from the right direction. The best way to know if you need additional room lighting is to run a test video and see the final result.
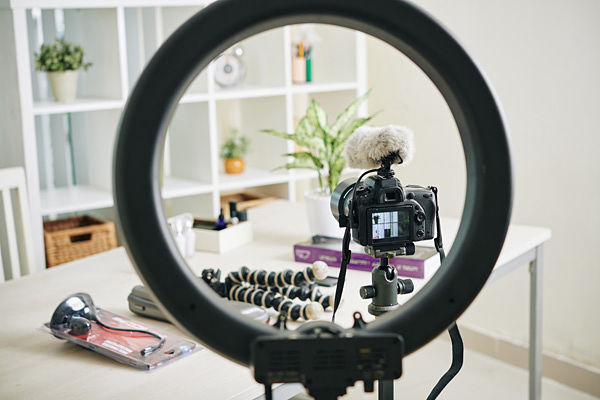
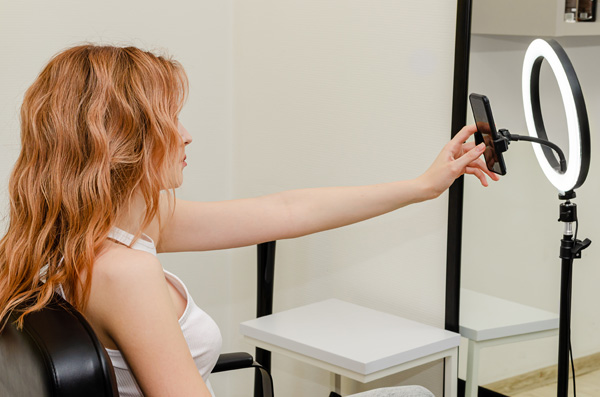
You can buy daylight bulbs and attach them to your ceiling or buy a ring light to instantly boost your video’s look. It’s especially good for online makeup videos.
Here’s how to up your lighting game for a professional look:
- Natural light: Position your setup near a window for a soft, flattering glow.
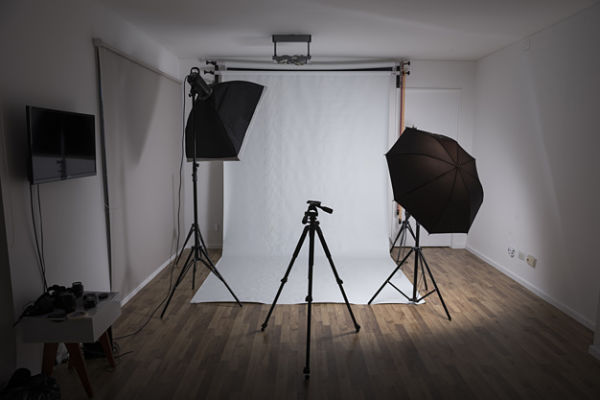
- Artificial lighting: Invest in LED ring lights or softboxes for even lighting. Many kits are budget-friendly and easy to set up.
- Backdrops: Your background matters more than you think. A clean, uncluttered space works best, but you can also use fabric backdrops or wall-mounted paper rolls for a polished look. For a creative touch, add a few decorative elements such as indoor plants, books, or string lights.
Get your camera ready – Your window to the world

You don’t need a Hollywood-grade camera to start. In fact, many successful YouTubers use their smartphones. Here’s what to consider:
- Beginner-friendly options: If you’re upgrading, cameras like the Canon EOS M50 or Sony ZV-1 are excellent choices.
- Tripods and stabilizers: Ensure your camera stays steady with a sturdy tripod. Flexible tripods like GorillaPods are great for smaller setups.
- Lenses: If your camera allows for interchangeable lenses, consider a 50mm lens for crisp, high-quality shots.
Invest in good editing software to polish your masterpiece

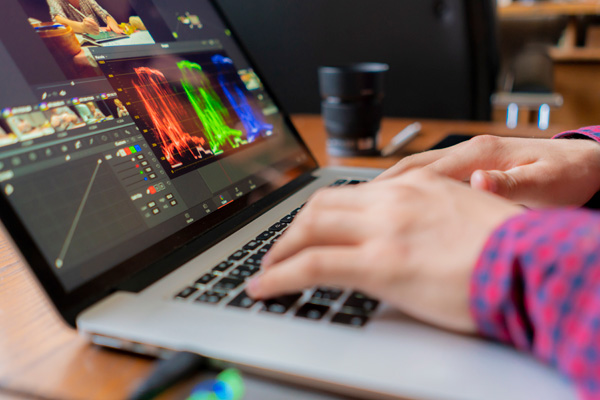
Thanks to technological advancements, there are various video editing tools available, at varied price points. Whichever editor you choose, make sure it’s in a format that can be uploaded on YouTube easily. Or, you could invest in a video editor that uploads to YouTube directly.
Remember, editing is where your video truly comes to life. A good video editor is essential for cutting, color correcting, and adding effects. Here are some great options:
- Free options: DaVinci Resolve, FlexClip and HitFilm Express are excellent free editing tools with robust features.
- Paid options: Adobe Premiere Pro and Final Cut Pro are industry-standard software for advanced editing.
- Mobile-friendly tools: If you’re editing on your phone, apps such as KineMaster and CapCut work wonders.
If you’re planning to create high-quality music content for YouTube, a dedicated studio setup brings you a step closer to presenting your art in the best possible way. Besides great visuals and sound, distributing your finished videos professionally can help grow your audience beyond YouTube. For musicians aiming to reach listeners across multiple platforms, setting up an efficient workflow for music video distribution for artists ensures that your creations are shared on major streaming services and stores globally. Leveraging such tools is especially helpful if you’re looking to expand visibility without dealing with the technical hurdles alone.
Buy all the essential accessories
A few extra tools can elevate your home studio setup:
- Ring lights or softboxes: These ensure consistent lighting.
- Gimbal stabilizers: Great for dynamic shots or vlogging.
- Green screen: Ideal for adding virtual backgrounds during editing.
- Pop filters and boom arms: Enhance the sound quality and make your microphone setup more versatile.
Consistency in your studio setup creates a recognizable style for your channel. Once you’ve settled on a lighting scheme, camera angle, and backdrop, stick with it. Viewers love a cohesive look.
Have a memorable YouTube studio decor
While your studio decor will have to reflect your content and brand, there are some sure-shot ways in which you can design a YouTube friendly ambiance. The idea is to pick up accessories that would match the kind of content you’re projecting. Think funky, comfortable furniture, the right wall colors, bright lights, and lots of indoor plants to add warmth to the studio.
Make sure the layout of the room is such that it visually separates your work area from your filming area. And yes, be careful of the background. If you live in a house with modern interior design, then creating the right background is easy. If not, you can either use a wall with a relevant poster or a green screen on which you can edit digital images.
Organize your space
A clutter-free studio helps you stay focused and ensures your videos look polished. Use cable organizers, storage boxes, and shelves to keep your gear tidy. A well-organized space is not just aesthetically pleasing but also boosts productivity.
Do your test runs and adjustments
Before filming your first video, do a few test runs. Pay attention to:
- Lighting: Check for shadows or overly bright areas.
- Sound: Listen for echoes or background noise.
- Composition: Ensure your frame looks balanced and professional.
With all the equipment, tools, and software in place — you’re ready to put your studio together. Begin by lining up your hardware in the order you need them. Test your lighting and camera positions. Make sure that everything is recorded well. It’s best to keep a record of the placement of all the equipment and their settings. Tweak your setup as needed until you’re happy with the results.
Be mindful of your YouTube studio cost
Create a budget for your home studio. The total cost to build a YouTube studio setup at home will depend on the equipment — both hardware and software — you choose, and the type of renovation you want, including painting walls, installing drywall, or buying new furniture.
Keep upgrading over time
As your channel grows, so can your studio. Start small and upgrade gradually. Maybe you’ll add a second camera for different angles or invest in more advanced editing software. The key is to grow with your audience and content needs.
Read more: Affordable home studio upgrades for creators
Final thoughts
A well-designed YouTube studio will bring that level of professionalism to the table. Setting up a YouTube studio at home is a fun and rewarding project. With the right balance of sound quality, lighting, and editing software, your videos will look and feel professional, even on a budget. Remember, the most important ingredient is you — your personality, creativity, and passion. These will keep viewers coming back for more. So, grab your gear, set up your home studio, and hit that record button. The YouTube world is waiting for your unique voice!
Written by Ramona Sinha. September 21, 2020
Ramona is the Senior Content Writer for Kukun. This experienced blogger uses simple and succinct words to decipher the complex phenomenon called life. She has written articles covering a broad range of topics, such as real estate, lending and mortgage, finance, business, taxation, home designs, home improvement projects, decor concepts, and more. An avid traveler, she’s a digital nomad at heart and an animal lover from the depth of her soul.
Top blog posts


See more >
Recommended
Join our newsletter
Get helpful renovation tips, insightful home maintenance articles, real estate market trends, and more.
Please enter a name
Please enter a valid e-mail