Top blog articles
Transform your kitchen by building stylish and functional floor‑to‑ceiling cabinets with these DIY expert tips, from planning to finish.
1. Why Go Floor-to-Ceiling?
- Maximize vertical space: Utilizing the full height avoids dust-collecting gaps and adds valuable storage.
- Create a seamless, high-end look: Continuous cabinetry draws the eye upward and makes even modest kitchens feel elegant.
- Boost resale appeal: Built-in, full-height cabinets are often seen as premium upgrades.
2. Planning & Measuring
- Measure precisely: Check floor-to-ceiling height in multiple spots, account for toe kick (≈100 mm) and crown molding.
- Map layout & storage needs: Decide which areas need pull-pans, open shelves, or appliance spaces.
- Budget out materials & tools (plywood, molding, screws, etc.) estimated DIY cost: $200–500.
3. Materials & Tools Checklist
- Cabinet-grade plywood or pre-fab units
- 2×4s (for support framing)
- Molding & trim
- Screws, nails, caulk, primer & paint
- Tools: drill, saw, level, stud finder, nail gun, quality safety gear
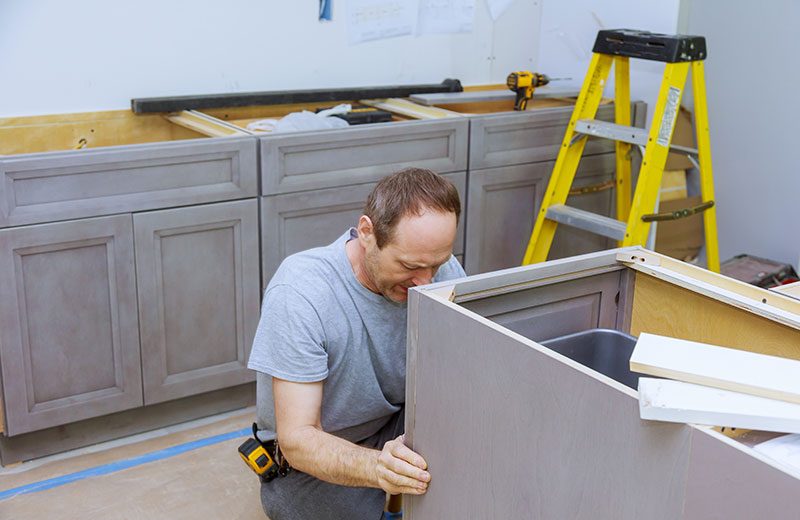
4. Building Process
A. Prepare & Align
- Clear the wall, remove old filler or baseboards
- Use a stud finder to locate supports
B. Build or Assemble
- Option 1: Custom-frame plywood boxes
- Option 2: Retrofit IKEA or modular units, stack and secure
C. Install Cabinets
- Secure base to studs and floor; ensure level
- Attach upper units, handling uneven walls via scribe-fitting and shims
- Fill gaps with moldings; caulk for a seamless finish

5. Smart Storage Features
- Pull-down shelves, swing-out trays for hard-to-reach areas
- Built-in appliances (ovens, fridge) for streamlined aesthetics
- Open shelving/glass doors to break up solid height and highlight décor
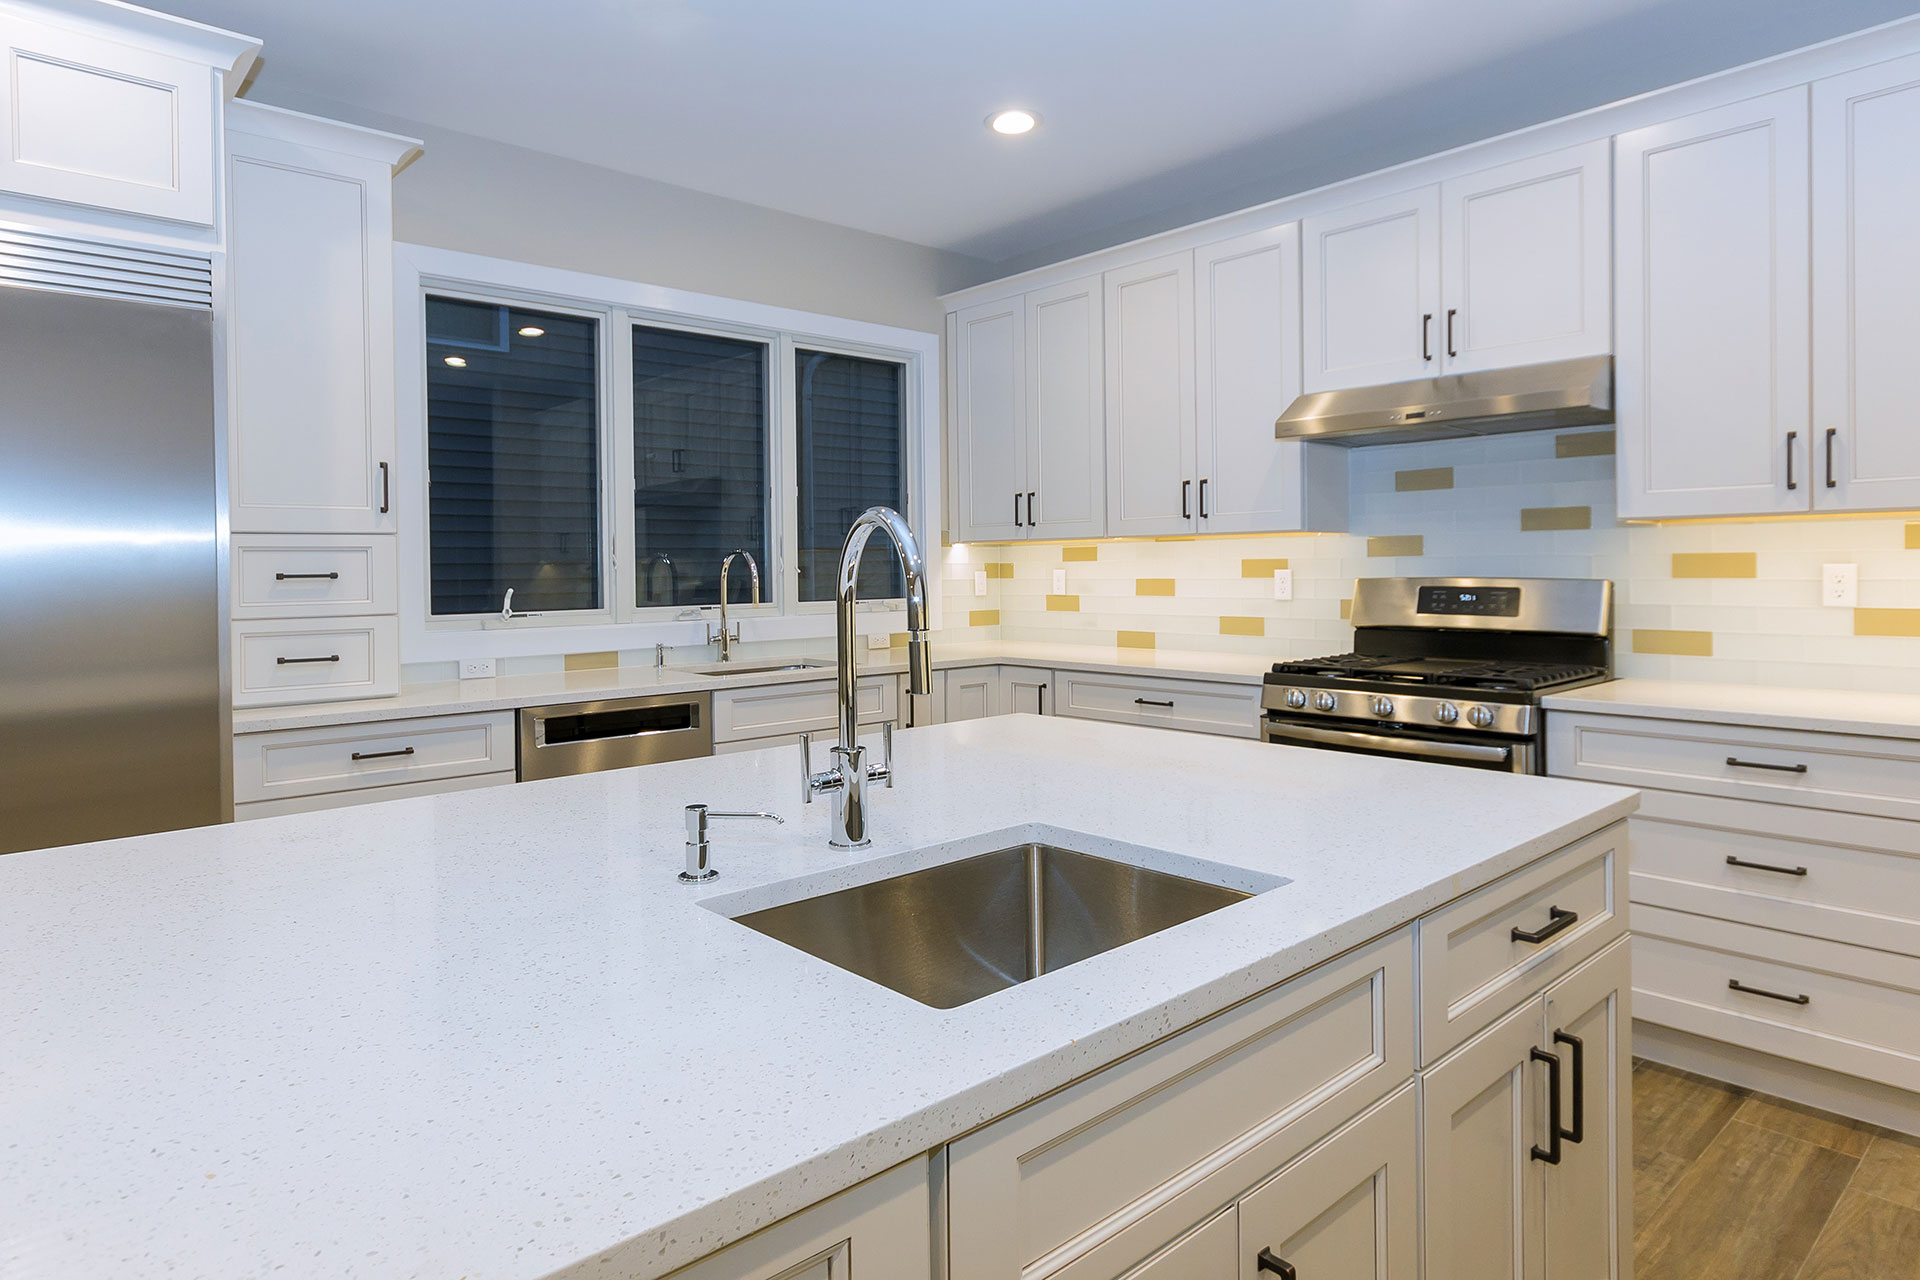
6. Style & Finishes
- Two-tone design: darker lowers, lighter uppers, for depth
- Warm wood finishes (oak, walnut) give an inviting texture
- LED/under-cabinet lighting enhances ambiance and visibility
7. Pros, Cons & Accessibility
Pros: Efficient use of space, clean high-end appearance, smarter storage.
Cons: Higher material/labor cost; top shelves may require a step ladder or a rolling ladder.
8. Final Finishing Touches
- Sand, prime, then paint, use shellac-based primer for slick surfaces
- Add crown molding flush to the ceiling, and install LED strips if desired
- Organize interiors with dividers, spice racks, and pull-outs
9. Designer Tips
- Mix cabinet types (open/glass/closed) for visual interest.
- Use consistent color/finish across cabinetry for stylistic unity.
- Integrate lighting to highlight vertical lines and brighten work areas.
Read more: Custom cabinets vs prefabricated
Conclusion
By meticulously planning, building with precision, and adding stylish yet practical features, you can create custom-looking, floor-to-ceiling kitchen cabinets that transform your kitchen into a polished, functional, and high-value space, all at a reasonable DIY cost.
DIY-friendly project list
✅ Measure & design
✅ Assemble or retrofit
✅ Install & align
✅ Trim, paint, and light
✅ Add smart storage solutions
Let me know if you’d like printable plans, sourcing help, or local cost estimates for your area!
Written by Narayan Shrouthy. July 15, 2022
Narayan is a content writer for Kukun. With experience in both content writing and editing, Narayan mixes his writing and love for reading with his passion for music. As an active musician, He aims to be a key player in Kukun's content experience.
Top blog posts


See more >
Recommended
Join our newsletter
Get helpful renovation tips, insightful home maintenance articles, real estate market trends, and more.
Please enter a name
Please enter a valid e-mail