Top blog articles
Installing a utility sink can be a valuable addition to spaces like laundry rooms, basements, or workshops. These sinks are built for heavy-duty tasks and are deeper and more durable than regular sinks. We’ll provide a detailed explanation of the steps involved in installing one, ensuring you’re well-prepared to either tackle the job yourself or manage a subcontractor’s bids when comparing the bids for professional installation. While this process might seem intimidating at first, it’s achievable with the right tools, planning, and a clear understanding of the project requirements.
Is it hard to install a utility sink?
Installing a utility sink can range from fairly straightforward to moderately difficult, depending on your experience with plumbing. If you have basic DIY skills, you can handle it with proper tools and following a guide. The key challenges are connecting to existing water supply and drain lines. Those unfamiliar with plumbing may want to hire a professional, especially if your sink requires new piping or extensive adjustments.
Can I put a utility sink in my laundry room?
Yes, installing a utility sink in your laundry room is a great idea! It’s a practical addition, especially for rinsing out clothes, cleaning large items, or handling dirty jobs that you don’t want to do in a regular sink. Most laundry rooms are close to plumbing, making it easier to connect the sink to existing water supply and drain lines.
How much does it cost to put a sink in a laundry room?
The cost of installing a sink in a laundry room can vary based on several factors, such as the type of sink, whether plumbing adjustments are needed, and whether you hire a professional.
- For DIY installation. The cost typically ranges from $100 to $300 for materials (sink, pipes, fittings).
- Professional installation. If you hire a plumber, the total cost can range from $300 to $1,000 depending on the complexity of the plumbing work, labor rates, and any additional parts required.
What is the difference between a utility sink and a regular sink?
The main difference between a utility sink and a regular sink is the design and function.
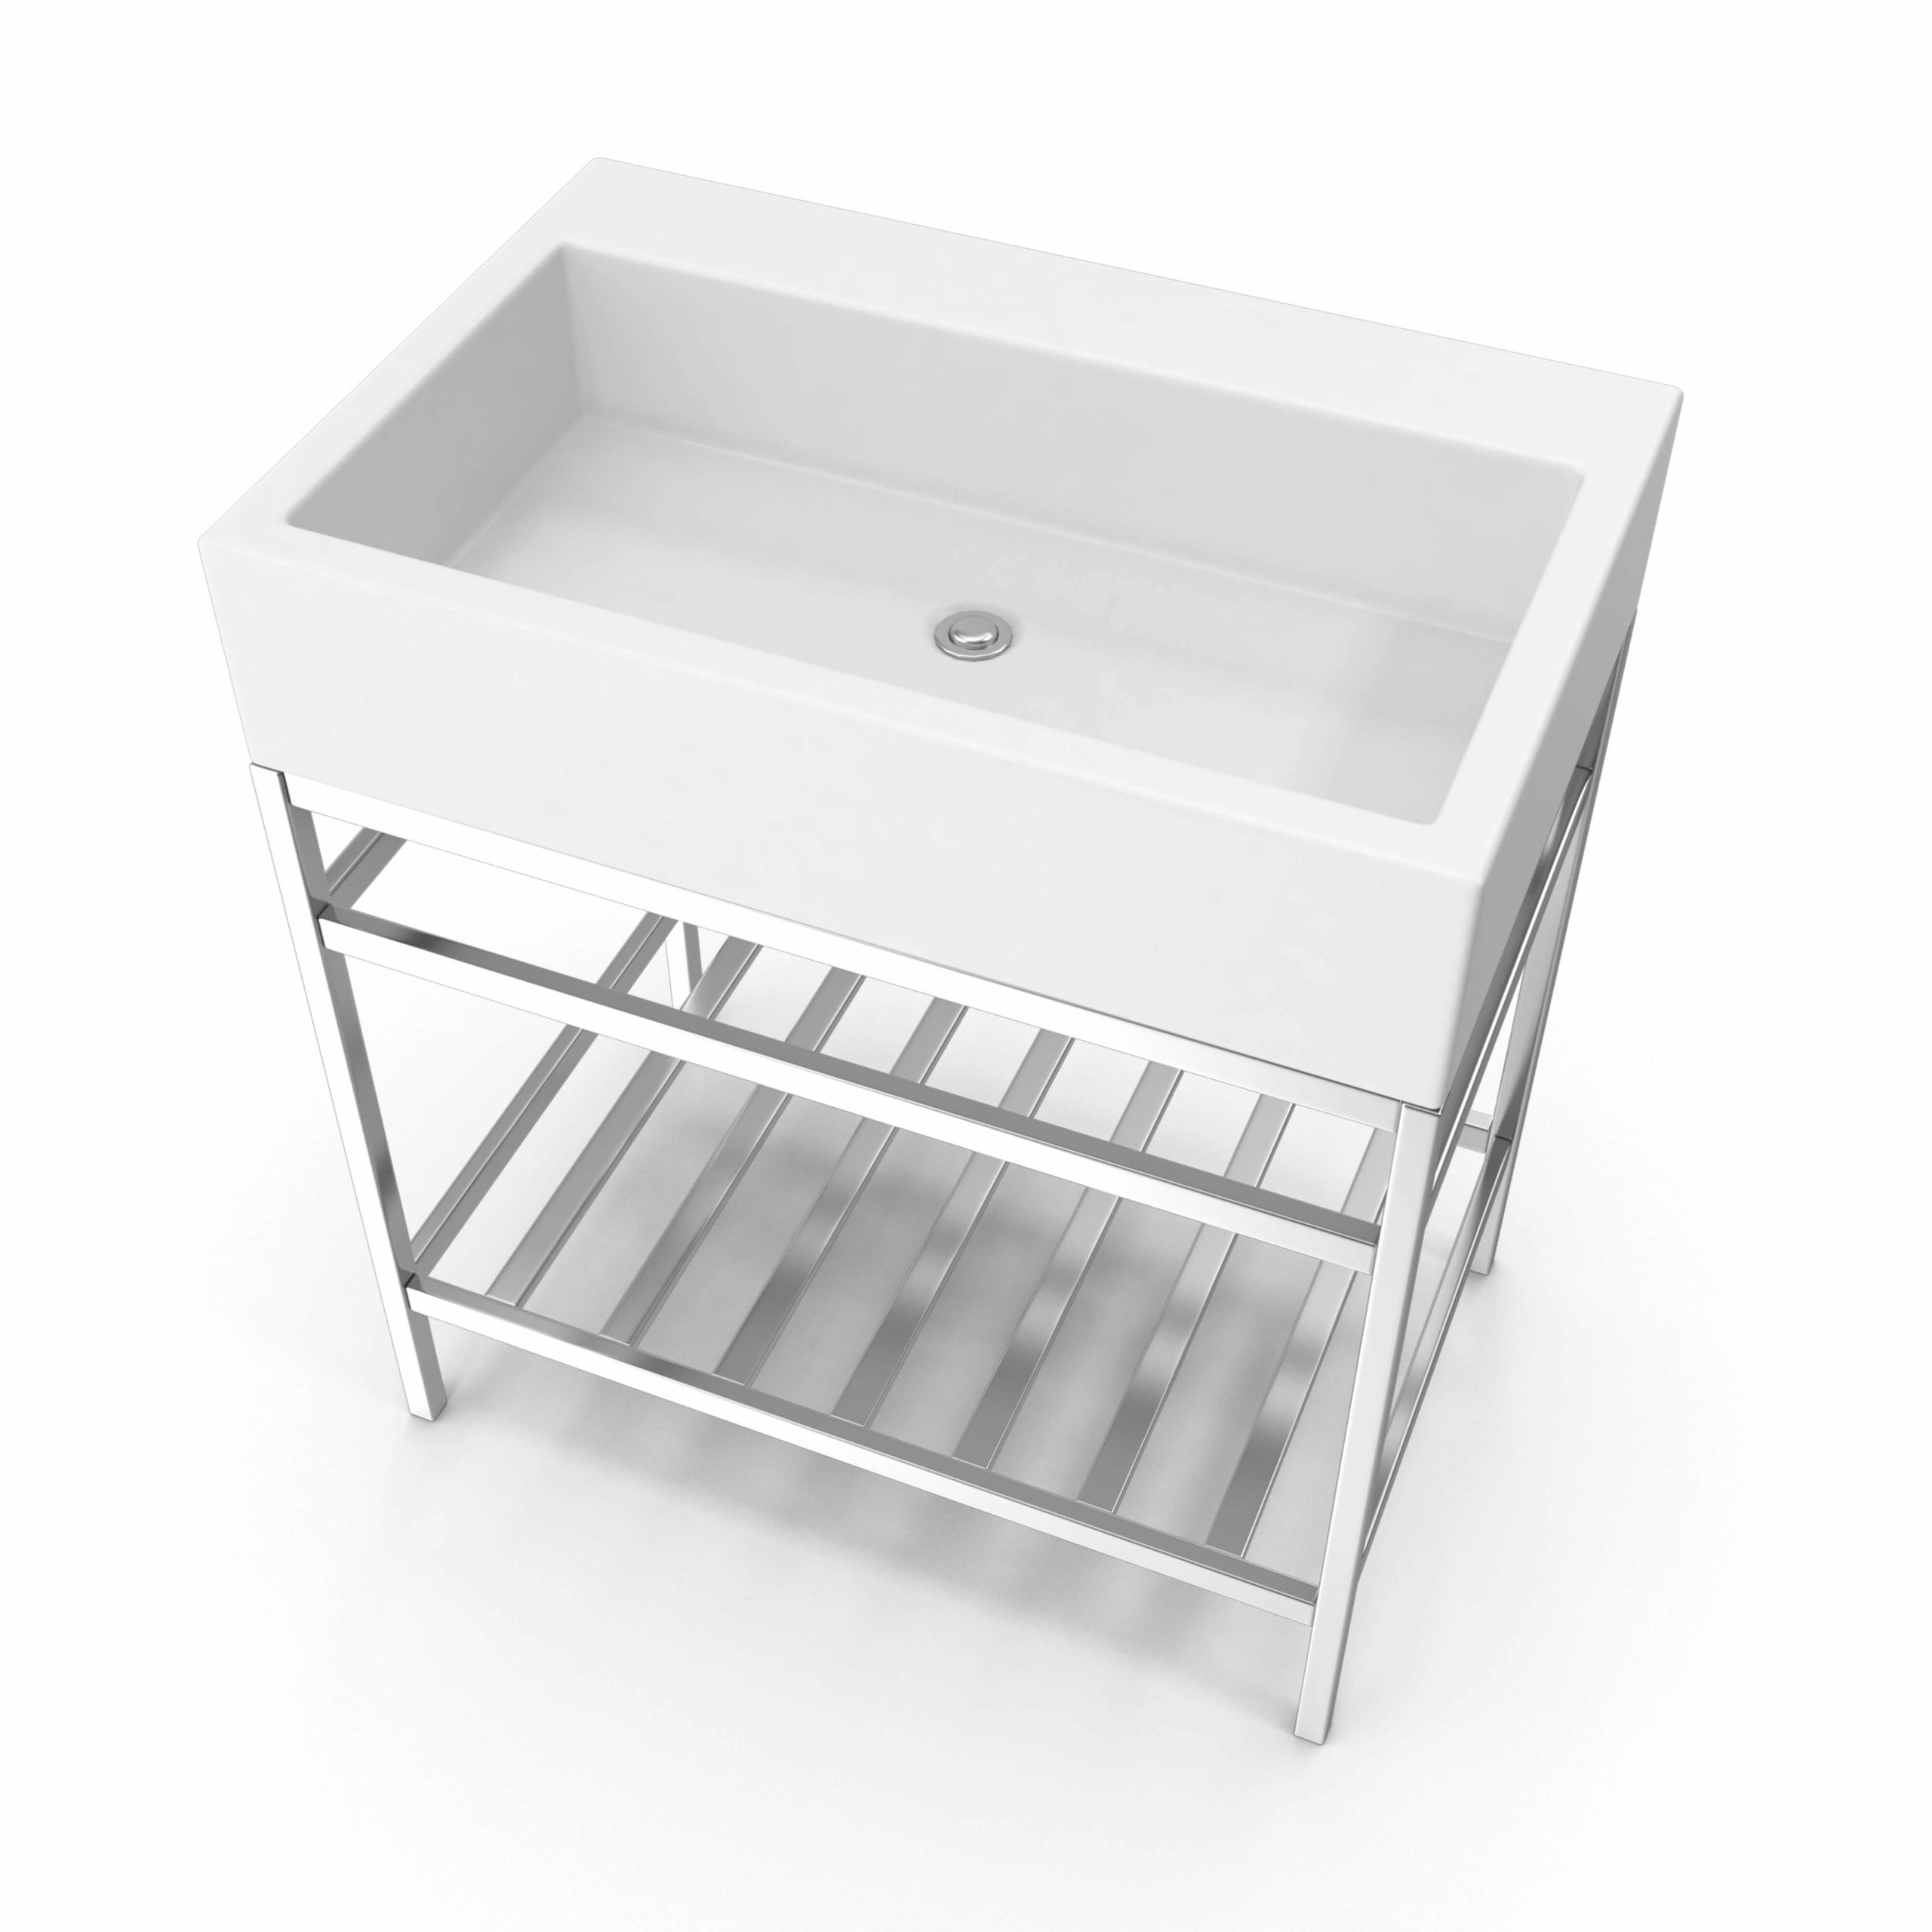
Utility Sinks. They are deeper, larger, and more rugged, designed for heavy-duty tasks like washing tools, soaking clothes, or cleaning large, dirty items. They are often made from durable materials like plastic, stainless steel, or cast iron and are typically placed in laundry rooms, garages, or workshops.
Regular Sinks. Found in kitchens or bathrooms, these are designed for everyday use, such as washing hands, dishes, or food preparation. They are more aesthetic, often made from materials like porcelain or stainless steel, and come in various designs to suit the decor of the room.
Materials and tools needed
Before diving into the installation process, let’s outline the key materials and tools you’ll need. As part of the bidding process, you may have received different recommendations, but here’s a complete list to ensure you’re comparing apples to apples when assembling your supplies:
Sink
- Utility Sink Kit. These kits often include the basin, faucet, and mounting brackets, making it easier to ensure the scope of work is clear.
- Material. Choose between durable plastic, stainless steel, or cast iron, depending on your budget and the demands of your space.
Pipes and fittings
- PVC Pipes: Commonly used for drainage, usually 1.5 to 2-inch pipes.
- Shut-Off Valves: Essential for controlling water flow directly at the sink, helping manage scope gaps during installation.
Plumbing supplies
- Flexible Hoses: These connect the water supply lines to the sink’s faucet and are part of the bid package you may review in the request for proposal.
- Teflon Tape: Ensures leak-free connections on threaded pipes.
Tools
- Wrenches and Pliers: For tightening connections.
- Pipe Wrench: Useful for metal pipe connections.
- PVC Cutter: Allows you to cut pipes to the desired length without error.
- Caulk: Ensures a water-tight seal around the faucet.
Step-by-Step Installation Guide
When installing a utility sink, ensuring proper planning and understanding of the scope of work is essential to avoid scope gaps. If you’re comparing subcontractor bids or handling the work yourself, follow this guide for a successful installation.
Choosing a location
- Proximity to Plumbing: The closer your sink is to existing plumbing, the easier and more cost-effective the installation will be. This helps keep the lowest cost while meeting the project requirements.
- Space Considerations: Choose a space that allows easy access and enough clearance for both the sink and plumbing connections.
Shutting off the water supply
- Main Water Shutoff: Turn off the main water supply to avoid leaks.
- Drain Existing Water: Open nearby faucets to drain any remaining water in the pipes, which helps avoid complications during the process of bid leveling.
Installing the faucet
- Attach the Faucet: Using the provided screws and gaskets, securely mount the faucet onto the sink. Ensure there are no scope gaps by double-checking the fit and seal.
- Wrap Threads with Teflon Tape: This prevents leaks and should be done carefully to avoid common issues with low-bid installations.
Connecting the water supply
- Flexible Hoses: Attach the hoses from the shut-off valves to the sink’s faucet. Flexible hoses are ideal because they make minor adjustments easier.
- Tighten Connections: Use wrenches to secure the connections. This ensures there are no surprises when comparing apples to apples during the bidding process.
Installing the drain pipe
- PVC Drain Pipe: Connect the drain pipe to the sink’s tailpiece and run it to the main drain line. Be sure to follow the bill of quantities to ensure you have the correct length and fittings.
- P-Trap: Install a P-trap under the sink to prevent sewer gases from entering the room. This is a key part of the bid package for any professional plumber.
Securing the sink
- Level the Sink: Whether it’s wall-mounted or freestanding, use a level to ensure proper positioning. This is crucial for long-term use and part of the scope of work you outlined in the request for proposal.
- Install Wall Brackets: If applicable, use sturdy wall brackets to mount the sink securely.
Testing for leaks
- Water Test: Turn the water supply back on and test the faucet and drain for leaks. If there are any issues, tighten connections and apply more Teflon tape where needed.
- Drain Test: Fill the sink with water and let it drain. Check for leaks around the P-trap and ensure everything is flowing properly. This step helps you confirm the lowest bid does not come at the expense of quality.
Bottom line
How to install a utility sink doesn’t have to be complicated if you follow a clear, structured approach. Whether you’re doing it yourself or reviewing bids as part of a construction project, knowing the materials and process will help you avoid common pitfalls. The process of construction bid leveling is key to ensure that the lowest bid still meets all project requirements and doesn’t leave out important details. As with any project, the key is to compare apples to apples, so whether you’re handling a home renovation or managing subcontractor bids, make sure everything from the bill of quantities to the installation steps aligns.
In the end, a utility sink is an investment in your space that offers both functionality and convenience. If you’re a project owner managing a construction bid or just tackling this as a DIY task, the satisfaction of completing the job properly will be worth the effort!
Written by Vanessa Gallanti. January 4, 2025
Enthusiast about planning, project management, construction materials and technology, and construction. A civil engineer from Los Andes University and a content writer for Kukun.
Top blog posts


See more >
Recommended
Join our newsletter
Get helpful renovation tips, insightful home maintenance articles, real estate market trends, and more.
Please enter a name
Please enter a valid e-mail