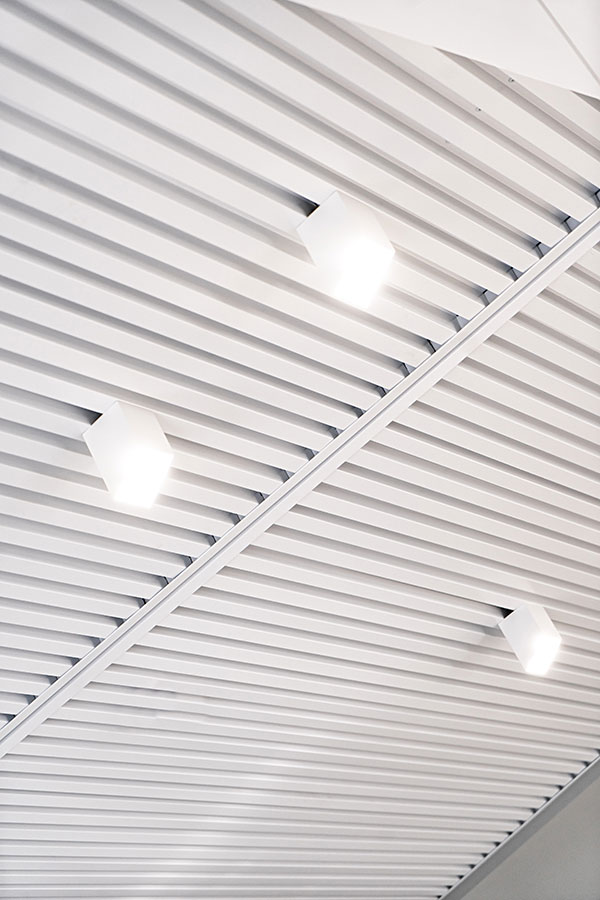
Blog Guides Ceiling and lighting
How to install a ceiling light: A step-by-step guide
Updated Thu, Jul 10, 2025 - 7 min read
Top blog articles
Knowing how to install ceiling light is not as nerve-racking as you imagine. Less so, if you love DIY projects. With a little patience and attention to detail, you can give your room a stylish update and functional lighting.
A well-installed ceiling light can transform any room, brightening your space and adding style. So, let’s walk you through the process of installing a ceiling light.
Tools and materials you’ll need to install a ceiling light
Before you begin, gather the following tools and materials:
- New light fixture
- Screwdriver
- Ladder
- Wire nuts or wire connectors (to connect electrical wires safely. They twist over the ends of wires to keep them secure and insulated)
- Voltage tester
- Mounting strap (if not included with the fixture)
- Electrical tape
- Wire cutters/strippers
Step 1: Safety first — Turn the power off
Start by cutting power to the area where you’ll install a ceiling light. Locate the breaker for the room in your electrical panel and turn it off. Use a voltage tester to ensure no electricity is running through the wires in the electrical box. Safety is critical when dealing with electricity!
Step 2: Remove the old fixture
- Climb up to the existing fixture using a sturdy ladder.
- Unscrew the light and disconnect the wires connected to it.
- Carefully remove the old mounting strap, if present, from the electrical box.
Step 3: Prepare the wiring
Most houses wired utilize three types of wires:
- Black wires (hot wires)
- White wires (neutral wires)
- Ground wires (usually green or bare copper)
Make sure the white neutral, black wires, and ground wires in the electrical box are visible and in good condition.
Step 4: Install the mounting strap
Your new light fixture should come with a mounting strap or plate. Attach it securely to the electrical box using screws. If your fixture hangs, this is where you’ll also adjust the length of the chain to fit your desired height.
Step 5: Connect the wires
- Start with the ground wires. Attach the fixture’s ground wire to the one from the box using a wire connector. Secure it to the ground screw on the mounting strap.
- Next, connect the white wire from the fixture to the white neutral wire in the box. Use a wire nut or connector to secure them.
- Finally, connect the black wires (the hot wires) in the same way.
Ensure all wires are connected tightly and wrap them with electrical tape for added safety.
Step 6: Attach the lighting fixture
Once the wiring is complete, attach the fixture to the mounting strap. Most fixtures have screws or locking mechanisms to keep them securely in place. Follow the instructions that come with your fixture to ensure proper installation.
Step 7: Add bulbs and finishing touches
Screw in the recommended light bulbs for your light fixture. Attach any decorative covers or shades that came with the fixture.
Step 8: Restore power and test
Go back to your breaker panel and turn the power back on. Test your new overhead light to ensure it works properly. If it doesn’t turn on, double-check the wiring connections and ensure everything is secure.
How to install ceiling light when you do not have existing wiring
Overhead lighting is important to every part of our home, be it the kitchen, the living room, the bathroom, or even your walk-in wardrobe. However, what do you do when you have to install new lighting into a space that does not have existing wiring for it? Let’s explore some DIY tips on how to install ceiling lights without wiring.
Use plug-in lighting fixtures

Installing plug-in lights does not need existing electrical wires, you can do it as long as you have an electrical outlet and can install a hook in the ceiling joists wherever you need to fix the lights. The hook is just to hold the fixture in place.
These lights are great as chandeliers or pendant lighting, both of which are good options for overhead lighting.
You also have a wide range of light bulbs from which you can choose. Smart LED lights are the new crowd favorite. These bulbs help you save a considerable amount of money on your energy bills, you can also connect with them using Wi-fi through your mobile phone, control their colors, turn them on or off remotely, and more.
Wireless LED lights
For places such as your walk-in wardrobe and bathrooms, wireless LED lights are your best option. These lights are extremely affordable and are often self-adhesive. It means you can stick them onto the roof of the room or use them as wall-mount lights if need be.
The best part about wireless LED lights is that they use batteries, which means you do not even need an electric outlet to use them.
Arc floor lamps
Overhead lights do not necessarily need to be ceiling mounted. Arc floor lamps are just as efficient when it comes to overhead lighting, especially if you choose lamps that have large arcs.
The design of large arc floor lamps makes them more efficient at providing light away from the wall sockets as compared to table lamps. If you place them right, arc floor lamps can be the perfect reading lights or even light up a small dining table perfectly.
Torchiere lamps
Once again, these are not really overhead lights, but you can use them instead of one, especially if that purpose is ambient lighting. In fact, some would argue that torchiere lights are better at ambient lighting than even recessed lighting. They create an uplight – which makes the perfect type of lighting for setting the mood in a room. Especially, when you’re entertaining guests.
Safety tips for installing a ceiling light
- Make sure your new light fixture is compatible with the existing electrical box and the style of your room.
- Double-check all wiring connections to ensure they’re secure and safe.
- Always make sure you turn off the main power before working on the light fixture installation.
- Always make sure the voltage of the light sockets matches the operating voltage of the light bulbs you are installing. Otherwise, your lights will not work effectively.
- Never install or hang lights close to a heat source. Heat tends to damage bulbs and affect their longevity.
- If you need to install recessed lighting from scratch, always make sure you know what the roofing material is. For example, the tools you would need to cut holes in a drywall ceiling are different from the tools you would need to use to cut holes in a concrete ceiling.
- Make sure to measure distances from the light source and ceiling fans, especially if you’re installing chandeliers or pendant lights. You do not want either of them to be damaged as a result of a faulty installation.
- Have individual light switches for different types of lights. It makes it easier to turn lights on and off based on necessity.
- If you encounter any issues or feel unsure at any point, don’t hesitate to consult an electrician or a licensed lighting contractor.
Read more: Light bulb is stuck in socket
Last thoughts
Installing a ceiling light is a rewarding project that brightens up your space — literally! With the right tools, some patience, and knowing exactly how to install ceiling light, you can confidently tackle this DIY project. And, enjoy your stylish, functional new lighting.
Written by Narayan Shrouthy. June 6, 2022
Narayan is a content writer for Kukun. With experience in both content writing and editing, Narayan mixes his writing and love for reading with his passion for music. As an active musician, He aims to be a key player in Kukun's content experience.
Top blog posts


See more >
Recommended
Join our newsletter
Get helpful renovation tips, insightful home maintenance articles, real estate market trends, and more.
Please enter a name
Please enter a valid e-mail