Top blog articles
Bare garage walls can be an eyesore, and sheathing choices are limited. The two most obvious choices are drywall and plywood. Among the two, a lot of people find drywall to be more difficult to install, and they find it is more difficult to install shelving and storage solutions on drywall.
Plywood walls, on the other hand, can be easily on garage walls as a weekend DIY project, just as long as you know your way around carpentry tools and don’t mind breaking out the elbow grease. If you feel up to the challenge, here’s a detailed description of the process of installing plywood garage walls.
Plywood vs drywall
Let’s begin by quickly comparing the merits of both these sheathing materials.
- Drywall is more affordable than plywood is. While the average cost for drywall is between $1.50 and $3 per square foot, plywood siding begins at around $3.90 and goes all the way up to $7.20.
- Plywood is stronger than drywall and has higher impact resistance.
- Plywood is more water-resistant, while drywall is more fire-resistant.
- Drywall is easier to install but is messier and can’t hold racks easily.
- Plywood has a beautiful, natural finish while drywall is smooth.
Before you begin

As with any construction project, be sure to check out your local residential codes. While most local building codes allow for plywood walls in basements and garages, some have specifications about what kind of insulation should be installed (due to the risk of mold), and whether plywood can be used on the common wall or not in case of attached garages, etc.
In some states, why plywood walls are fine in detached living spaces, attached ones are not allowed to have plywood on common walls.
Most often, these specifications vary depending on your location and the weather conditions in your area.
Materials
- Insulation: Choose R-13 or higher-rated insulation, especially if you have a common wall shared with the main living space. A lot of retailers like Home Depot have insulation calculators to help you arrive at how much you need to buy. Also, make sure the insulation fits the space between the studs.
- Next, you will need to buy the right kind of plywood. For example, exterior wall plywood is both waterproof and weatherproof. These are available in three qualities, depending on how much exposure to the weather the sheets will have and the application.
Interior wall plywoods, on the other hand, such as what you will need, are more suited for dry, indoor conditions and are neither waterproof nor weatherproof.
Plywood is also graded from A to D based on the quality and appearance of the front as well as back veneers, with A being the most expensive and D being the most affordable.
Then, there is the fire rating for plywood. Plywood can be either fire retardant treated, which means the plywood has fire retardant salts impregnated into it, helping arrest combustion, or it can be fire retardant coated. In either case, the fire rating of treated plywood is always less than 25.
Once you’ve decided what grade of plywood you want to purchase, measure and calculate how many sheets you will need. In most cases, plywood is sold in 4’ x 8’ sheets. For interior garage walls, experts suggest you buy boards that are not more than ½ inch thick.
Tools
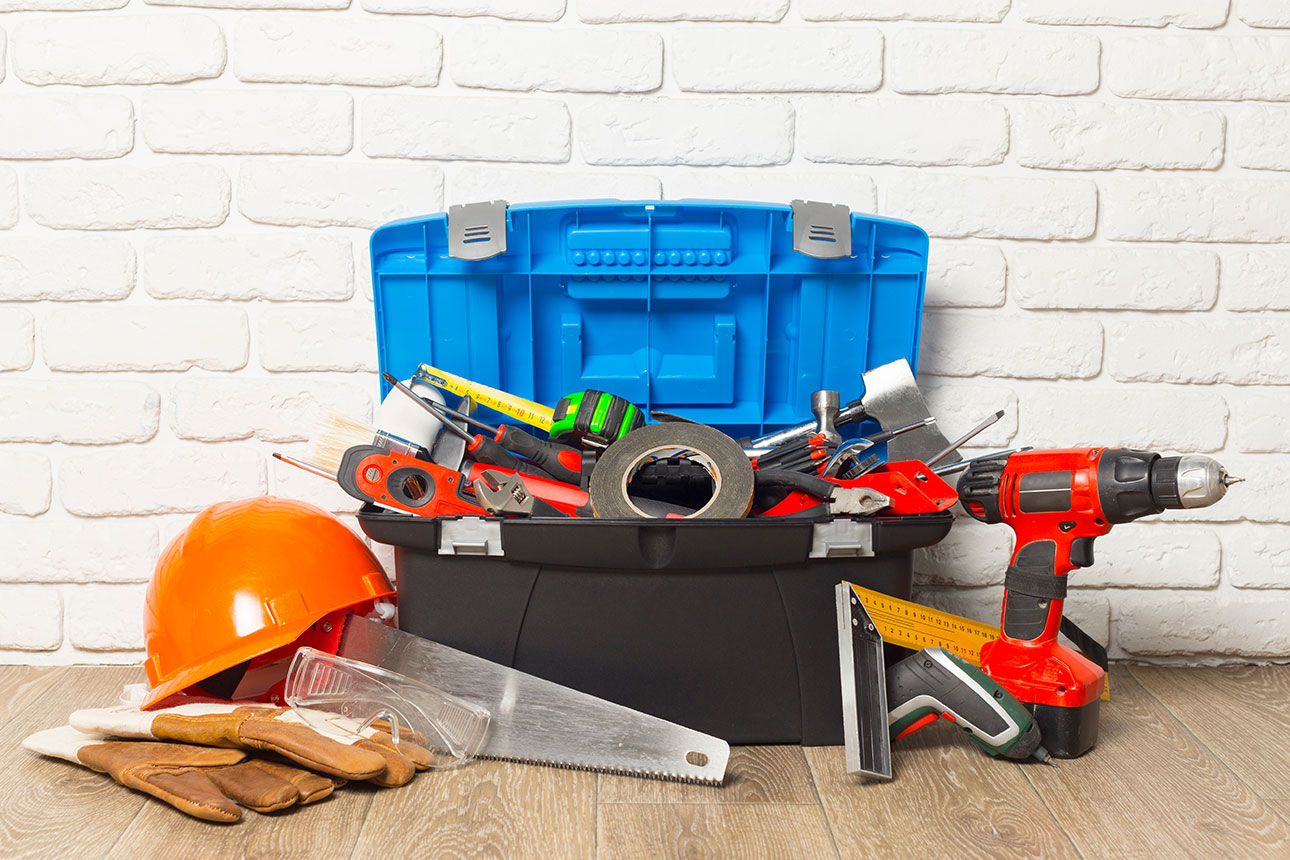
- A tape measure
- A power saw or a track saw to cut the plywood into the sizes you need.
- A battery-operated jigsaw to cut holes for electrical outlets and other fittings.
- 2.5” shank nails.
- A nail gun.
- 36” t-square.
- Paper and a pen.
- Work gloves.
- Wooden shims to elevate the plywood boards.
- Protective goggles.
The process
- Rest the plywood in the garage for around 48 hours before you begin working with it. This will allow the wood to get acclimatized to the humidity and weather conditions, making maintenance a lot easier in the future.
- Plan for and mark obstructions such as electrical outlets and pipes before you start cutting the boards. That way, you can always be sure that you do not have to repeat tasks.
- Measure and mark boards for the height until which you need the walls covered. Plywood boards are eight feet tall, and in most cases, that is as high as walls need to be covered. You can leave the wall bare above that height.
- Use shims to mark any obstructions that you will be cutting holes for.
- Measure and find the location of the studs on the wall. A lot of people assume they are evenly placed, only to find out later that they are not. Mark the location of the studs at the top and bottom of the wall as you find them.
- Considering the sheathing is going to be screwed on or nailed to the studs, it is also important for you to mark the location of any utility lines that run through the walls. The last thing you want to do is damage electrical wiring, a gas line, or water line when you drill holes.
- While nailing in the plywood sheets, maintain a distance of 6” between the nails at the perimeter of the sheets and 12” apart at intermediate studs. Leave a gap of ⅛” between sheets for expansion.
Safety first
- Always wear safety goggles while nailing boards. You don’t want to be injured if a nail rebounds off the stud.
- Start from a corner of the garage. Remember that when you place the sheet against the wall, the sides of the sheet ought to land in the middle of a stud.
- Use shims to hold the sheet off the ground by around ⅜”. This will make sure ground moisture does not damage the plywood.
- Nail or screw the first board into place. Make sure the vertical edges are plumb. This will allow you to make sure the boards that follow are not crooked. Then, start working outward.
- Here’s the process to follow while cutting access holes. Begin by propping the board up vertically on shims against the wall as straight as possible. Then, measure the distance and height required from the ledge.
Use the right tools
Use the t-square to mark the lines for the top and bottom of the opening. Then, drill holes in the four corners of where the opening should be. This will make it easy for you to cut the holes out using the jigsaw.
- Once the walls are sheathed, you can finish off the corners using wooden corner molding or paintable extrudable plastic molding, depending on your budget.
- The final step is to paint the plywood wall. To do this, begin by applying a coat of primer in the direction of the top grain. This will prevent the paint from soaking into the wood by sealing off the surface.
Once the primer has completely dried, use either high-quality water-based acrylic-latex paint or epoxy paint to paint the wall. Once again, paint in the same direction as the top grain. For the best results, apply two coats of paints, allowing sufficient time for the first coat to completely dry out before applying the second.
What if plywood is too expensive?
What choices do you have if you definitely don’t want drywall cladding and plywood costs more than you can afford? Well, your answer is the Oriental Strand Board (OSB). People often mistake OSB for particle board. However, while it may be more affordable than plywood, OSB is definitely stronger than particle board and is commonly used in roof sheathing and even as external cladding.
Read more: Storage solutions for garage
Written by Narayan Shrouthy. July 22, 2022
Narayan is a content writer for Kukun. With experience in both content writing and editing, Narayan mixes his writing and love for reading with his passion for music. As an active musician, He aims to be a key player in Kukun's content experience.
Top blog posts


See more >
Recommended
Join our newsletter
Get helpful renovation tips, insightful home maintenance articles, real estate market trends, and more.
Please enter a name
Please enter a valid e-mail