DIY home hacks: How to build a tiny house
Updated Fri, Dec 17, 2021 - 6 min read
Top blog articles
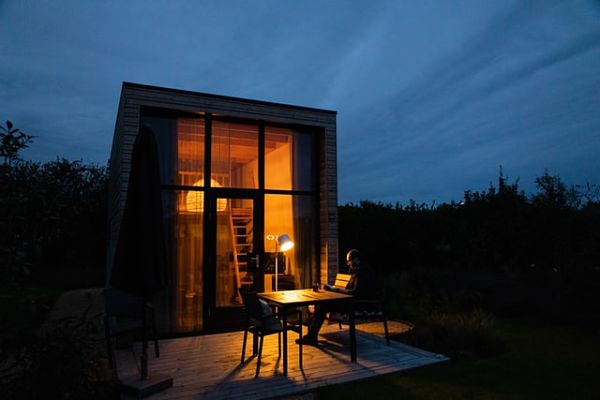
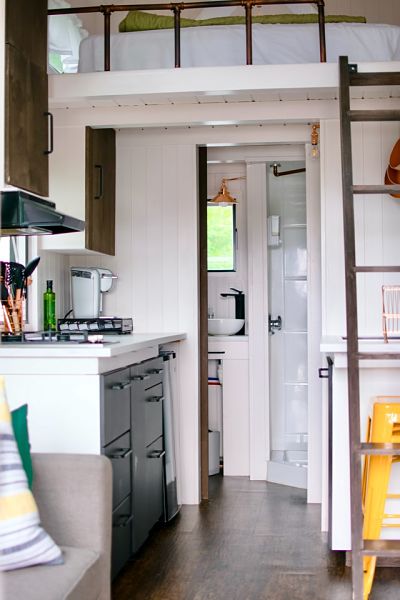
Ever since 2018, the tiny home movement has been gaining momentum across our country. Tiny homes are simple homes measuring no more than 400 square feet excluding loft space. They provide hope for those that may have lost their homes, since they are affordable and easy to build. They also are a preferred choice for those who want to reduce the cost of living and lead simpler lives.
If you’re considering joining the tiny home movement, here are some essential DIY hacks on how to build a tiny home.
How much does it cost to build a tiny home?
While you could build a tiny home for as little as $8,000 or spend as much as $150,000, the average cost of building a tiny home in the US is around $45,000.
The process
Let’s now elaborate on the step-by-step process for building a tiny home.
Planning
The first part of the planning process is knowing where you are going to build your tiny home. If you own a plot of land or any real estate, you could start building on it. Otherwise, consider trailer designs and build a tiny home on wheels.
Next up, you will need to plan how you want your home to look. There are literally a ton of different sources you could consult, from websites to design magazines, to decide on a design for your tiny home.
Flooring
Once you have the building plans for your tiny house on wheels ready, you need to start working on the flooring. Assuming you are going to build your tiny home on a trailer, the trailer will serve as your foundation.
Use standard lumber to build the floor of your tiny home. Once you have secured your floor to the foundation, reinforce the joints and any possible weak points.
The next thing you will need to do is sheath the lumber. While you could use either OSB (Oriented Strand Board) or plywood for the job, OSB is the cheaper option among the two.
Read more: DIY home upgrades that you will love to try
Shaping your tiny home
The next part of the building process involves giving your tiny home a basic shape or structure. It is highly recommended that you use metal bracing to hold your walls together. This bracing can be hidden from view within the interior walls once your tiny home is built.
Once again, sheath the walls with either OSB or plywood.
Roofing
Roofing is the most complex part of building your custom tiny home. If you’re new to tools and construction in general, we’d advise you to choose a simple roof design.
Once you have your roof frame and sheath in place, install a durable and weatherproof roofing material.
Remember, steeper and complicated roofing designs are more difficult to install.
Weatherproofing
Just because you’ve decided to live in a tiny house doesn’t mean you don’t get protection from the elements. All you need to do is wrap your home up in a house wrap.
A house wrap is a breathable material that allows moisture to be released from your walls while keeping the interiors of your home dry. Do not skip on this additional protection for your home.
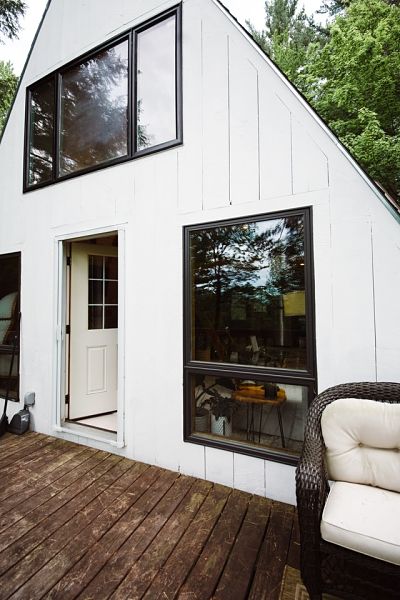
Installing doors and windows
A simple rule of thumb that you ought to follow while installing doors and windows for tiny homes is to get your measurements flawless square and level. Not only will this help you buy the best aesthetic fittings for your home, your doors and windows will also last longer.
Exterior finishing
Finishing the exterior of your tiny home will involve putting on cladding first. Once the cladding is on, trim off any extras and paint the exterior of the home. Seal any gaps and cracks with caulk to finish the job.
Plumbing
While some amount of plumbing repairs may be handled the DIY way, we wouldn’t advise you to set up the plumbing system for your entire home, albeit a tiny one. It is best to leave this job to the professionals.
While buying plumbing fixtures, remember that while plastic plumbing is advisable, you could always buy traditional copper plumbing fixtures if that better suits your budget.
Electrical connections
Once again, while simple things like wiring an electrical outlet may be possible to do DIY by following simple instructions, setting up electrical connections for an entire home is a job best left to professional contractors. The last thing you want to be dealing with is electrocution, fires, and other hazards.
Insulation
Foam board insulation is the preferred material for insulating tiny homes. Use low-VOC insulation to make sure the air quality inside your home is not compromised.
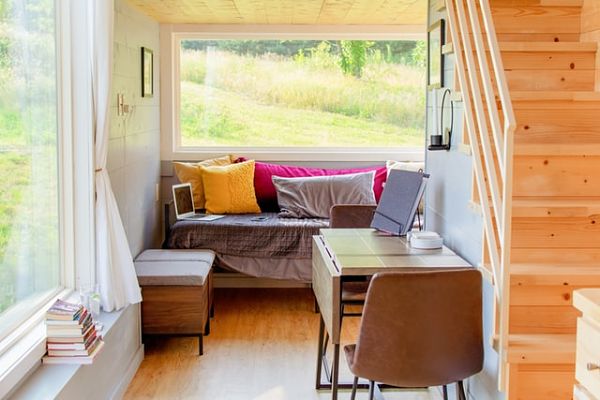
Interior walls
Once your plumbing, electricals, and insulation are all taken care of, it is time for you to put up your interior walls. If you can afford to put up wood on the interior walls of your tiny home, go for it. However, if budgets are tight, remember that drywall works just fine and is safer in case of a fire.
Read more: Container homes
Painting
Next up, choose your favorite color and get to painting the interiors of your tiny dream home. This is something that you definitely want to do yourself. The worst you could do is choose the wrong shade of paint.
Finishing electrical and plumbing systems
Install all the final plumbing and electrical connections. Even though home inspections are not mandatory for tiny homes, make sure your connections meet the safety codes for your own well-being.
Read more: Tiny home kitchen ideas
Interior flooring
Finally, finish the interior floors of your home with any material you choose, be it vinyl, prefinished wooden floors, or tiles. Congratulations! Your tiny home is ready!
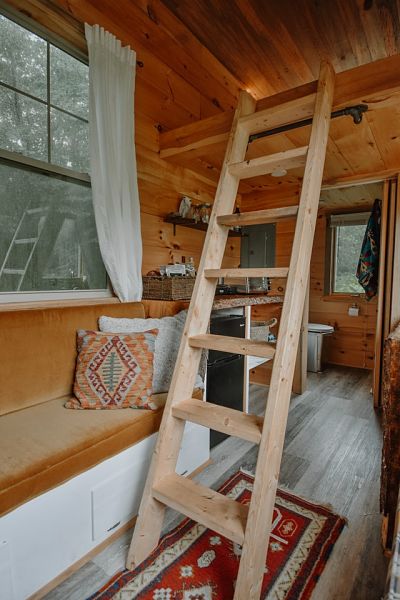
Don’t hesitate to get help
Minimalistic living is gaining more popularity, and with it, more people are gravitating towards living in tiny custom homes. And while it may be possible to build it yourself, home construction is not everyone’s forte. Don’t hesitate to look online and reach out to one of the many professional tiny home builders across the country.
Read more: Tiny home cost
Written by Narayan Shrouthy. July 9, 2021
Narayan is a content writer for Kukun. With experience in both content writing and editing, Narayan mixes his writing and love for reading with his passion for music. As an active musician, He aims to be a key player in Kukun's content experience.
Top blog posts


See more >
Recommended
Join our newsletter
Get helpful renovation tips, insightful home maintenance articles, real estate market trends, and more.
Please enter a name
Please enter a valid e-mail